Postponed Posting to Linkedin: How to Do It Quickly and Easily
Postponed Posting on Linkedin
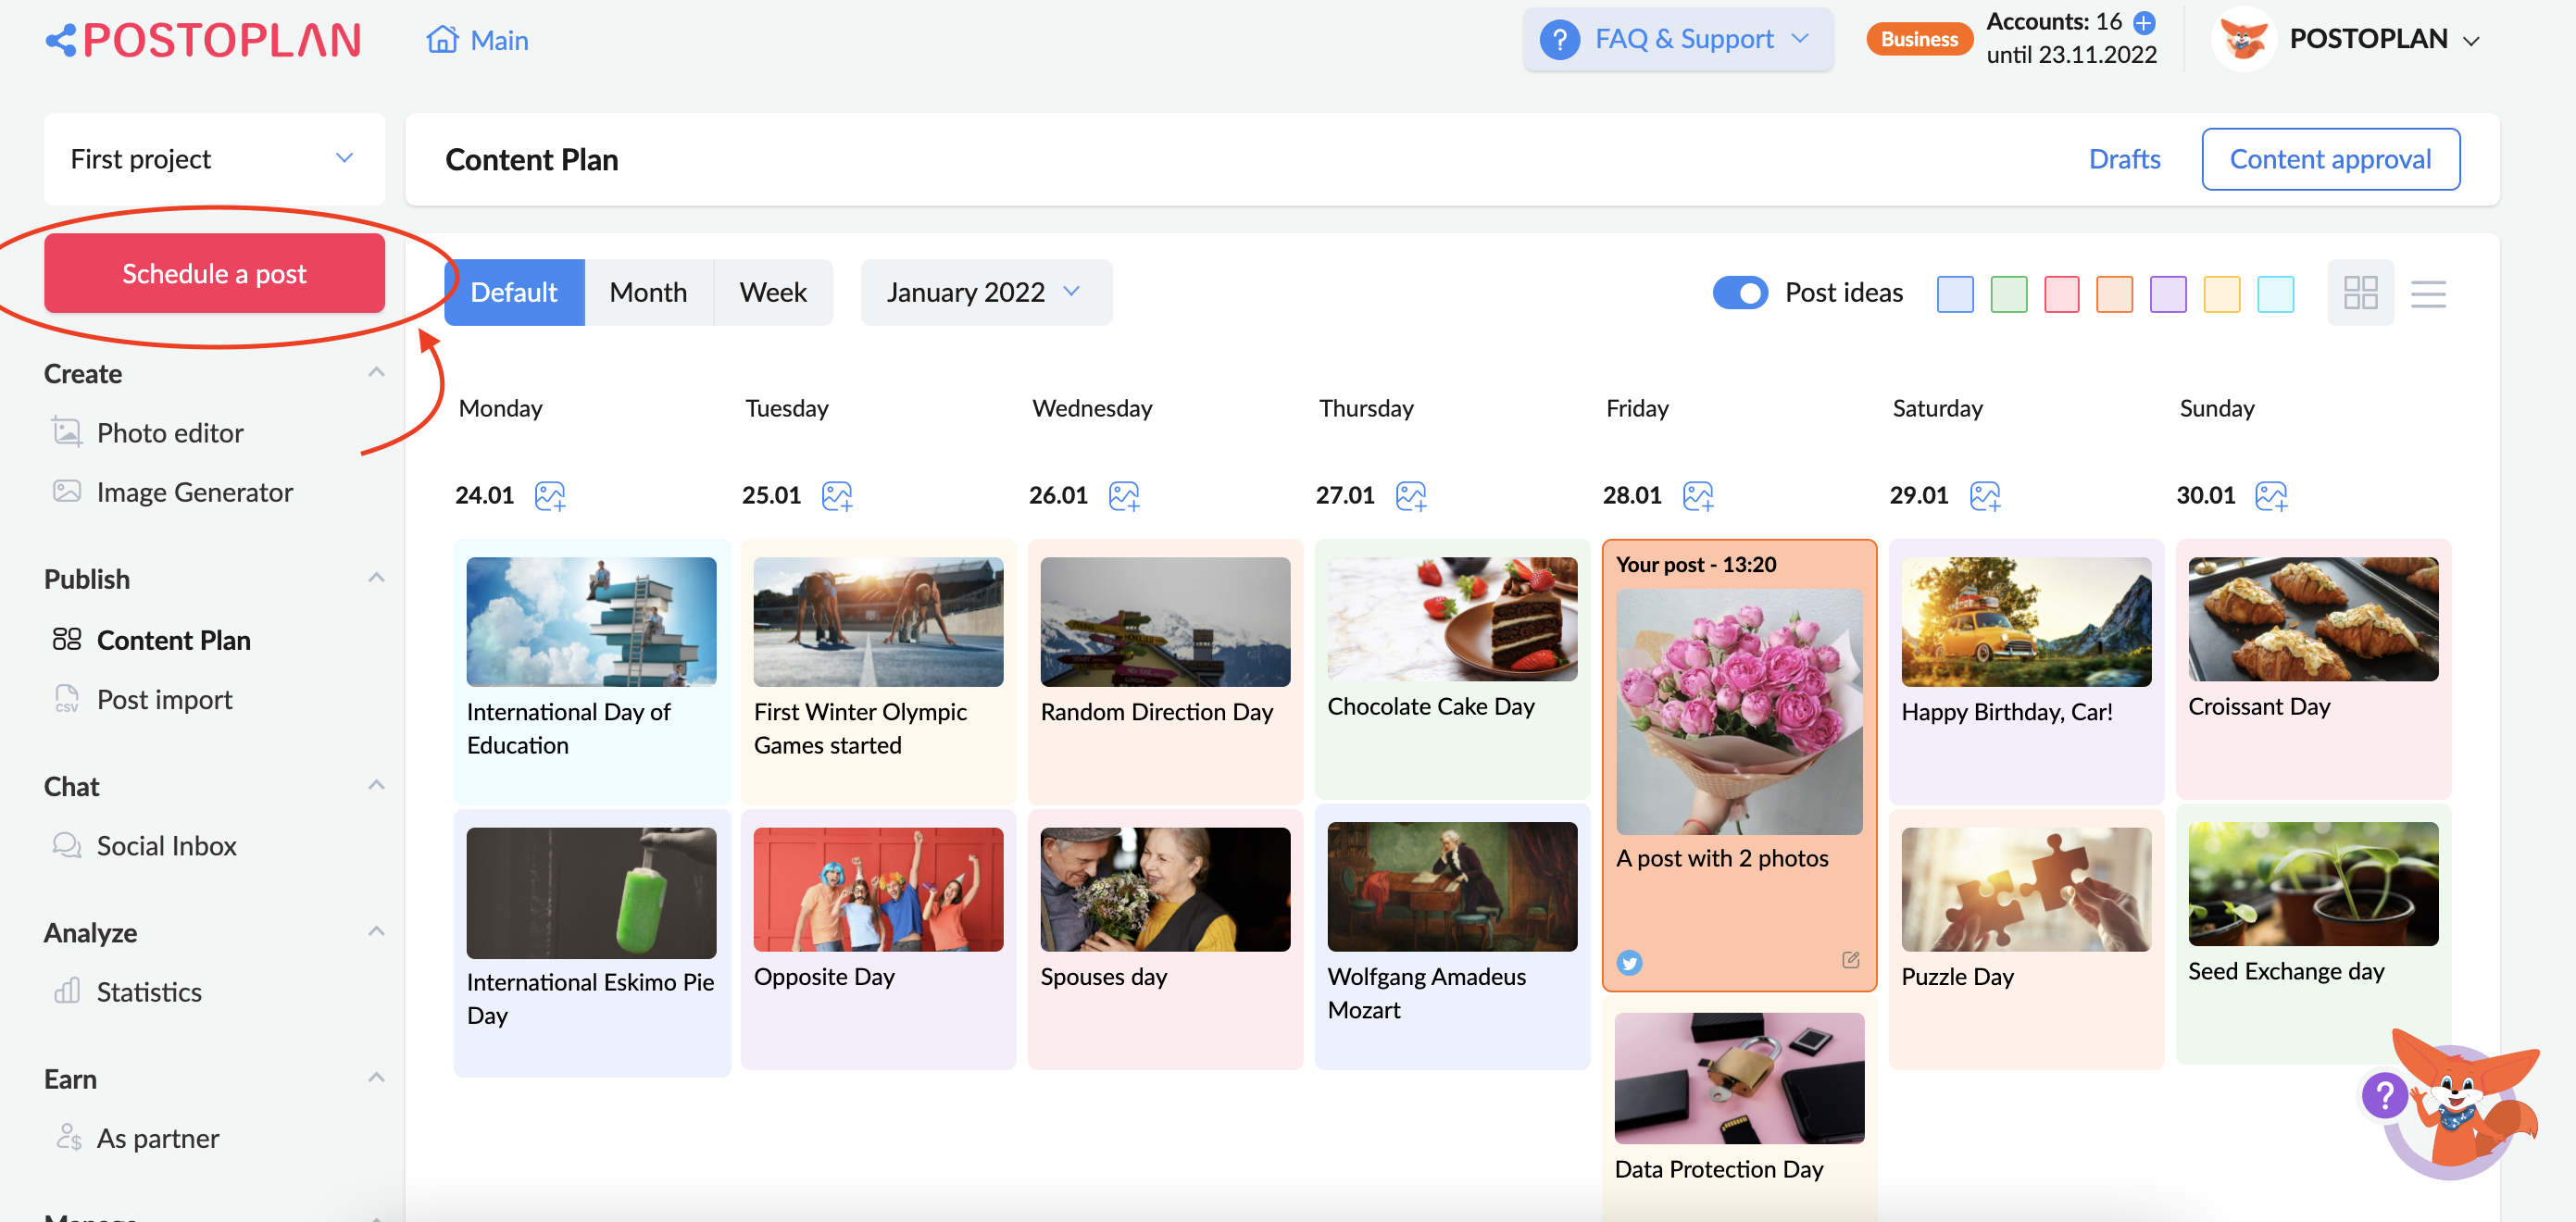
To start scheduling a post, click “Schedule a post”:
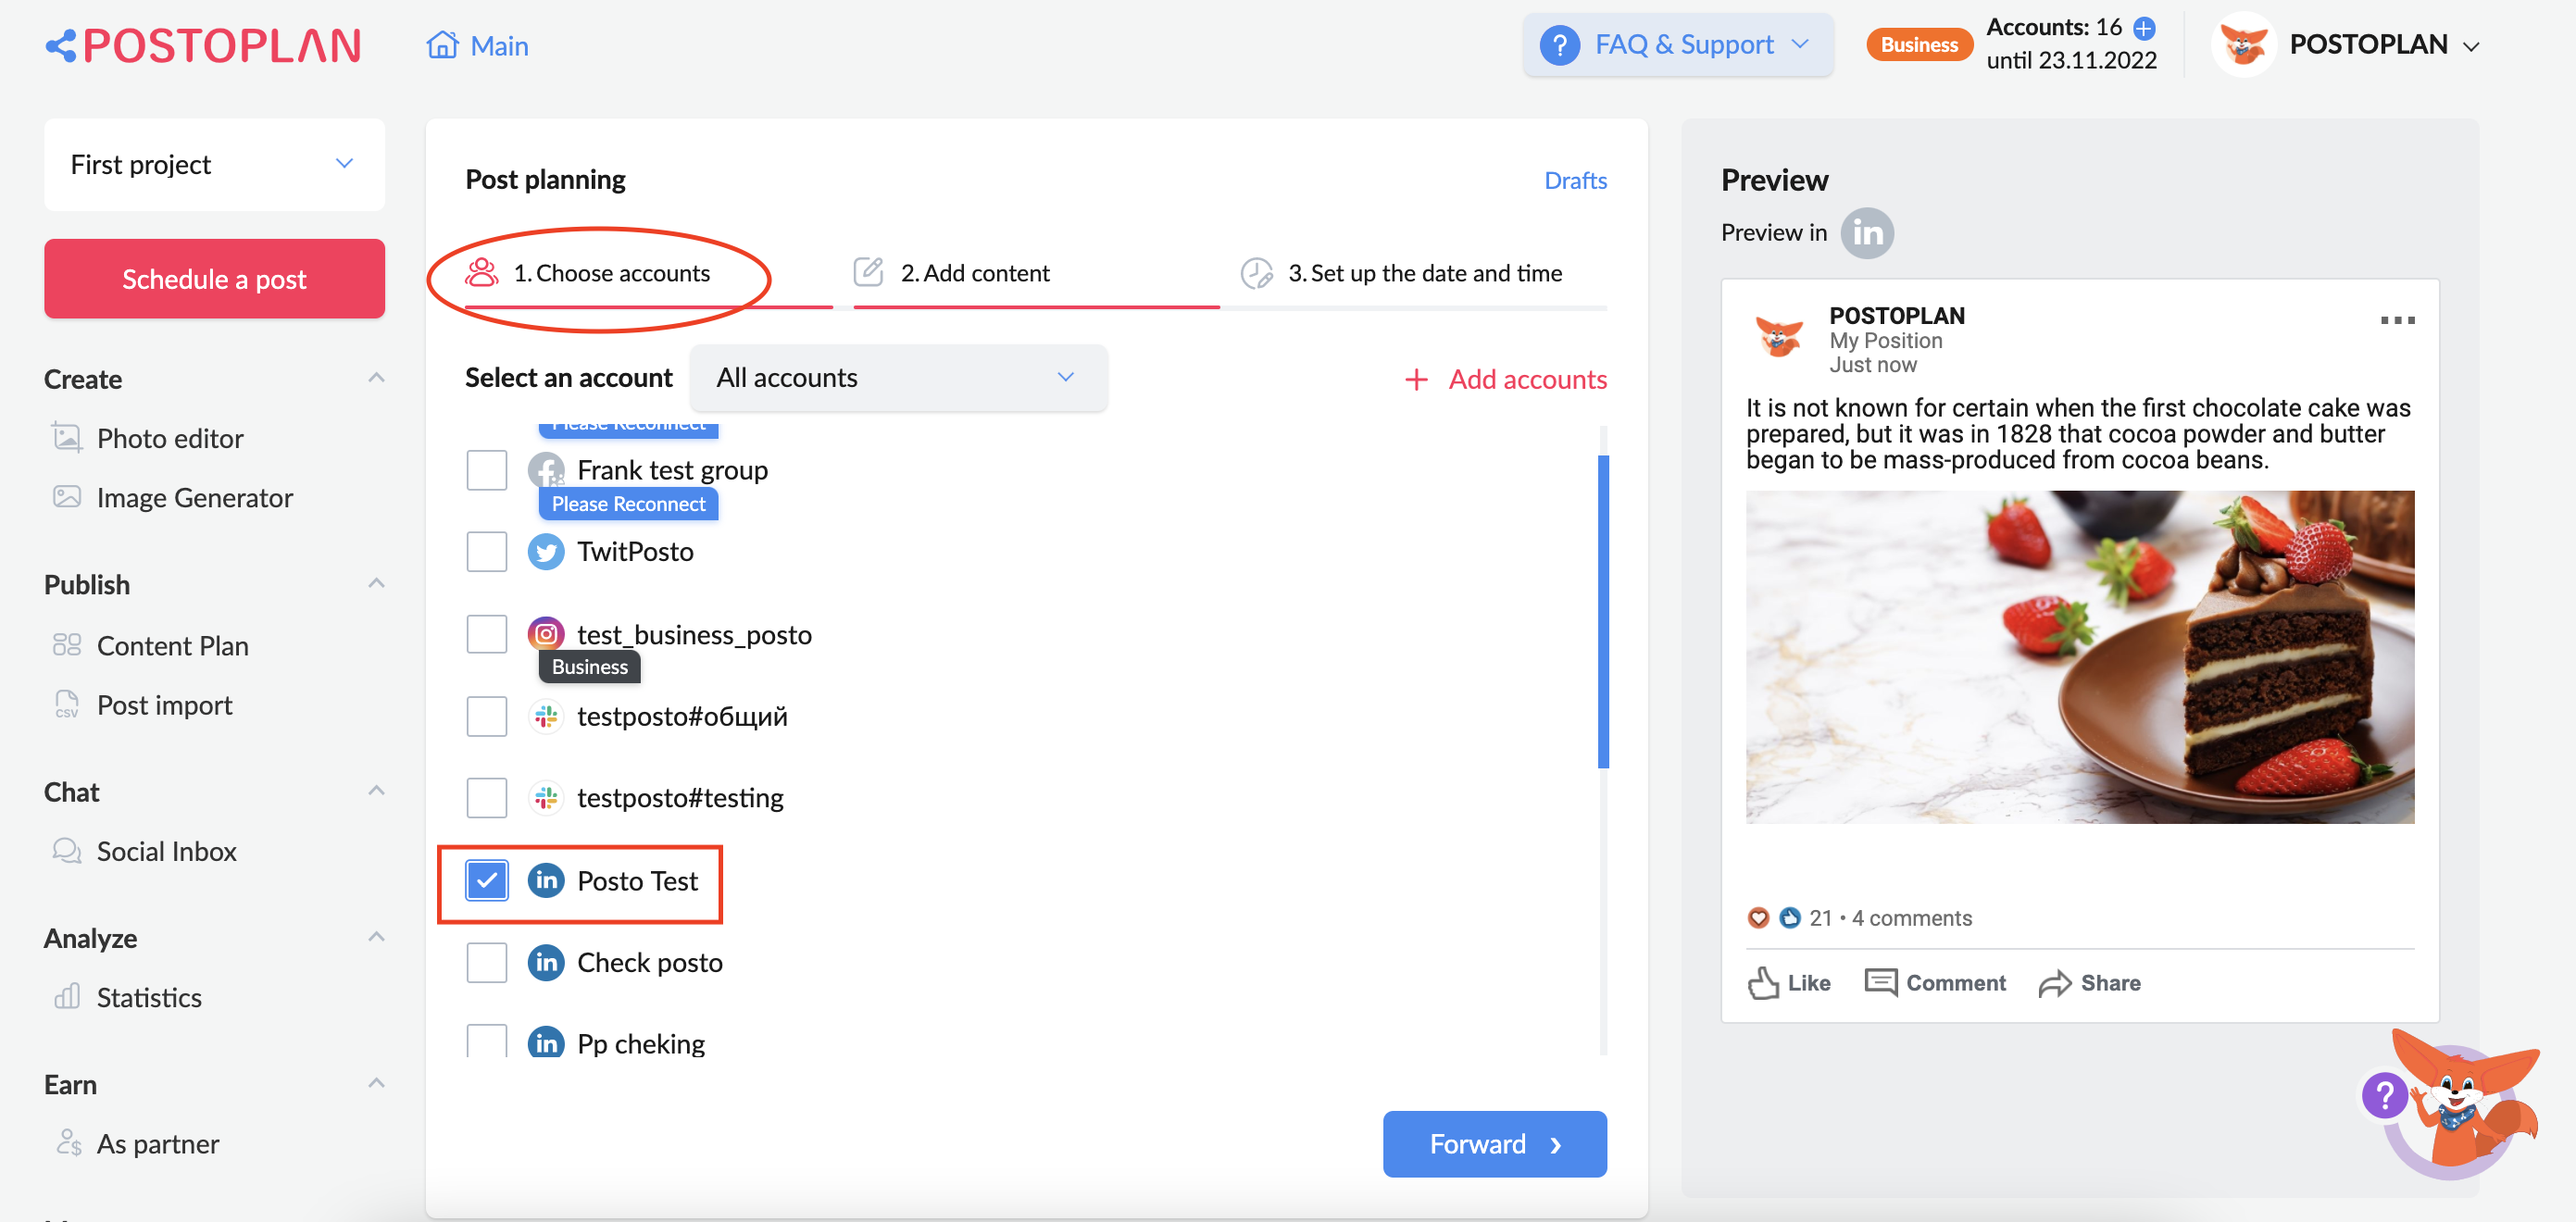
In the “Schedule Posting” tab, select the accounts you want to post to and click “Go”:
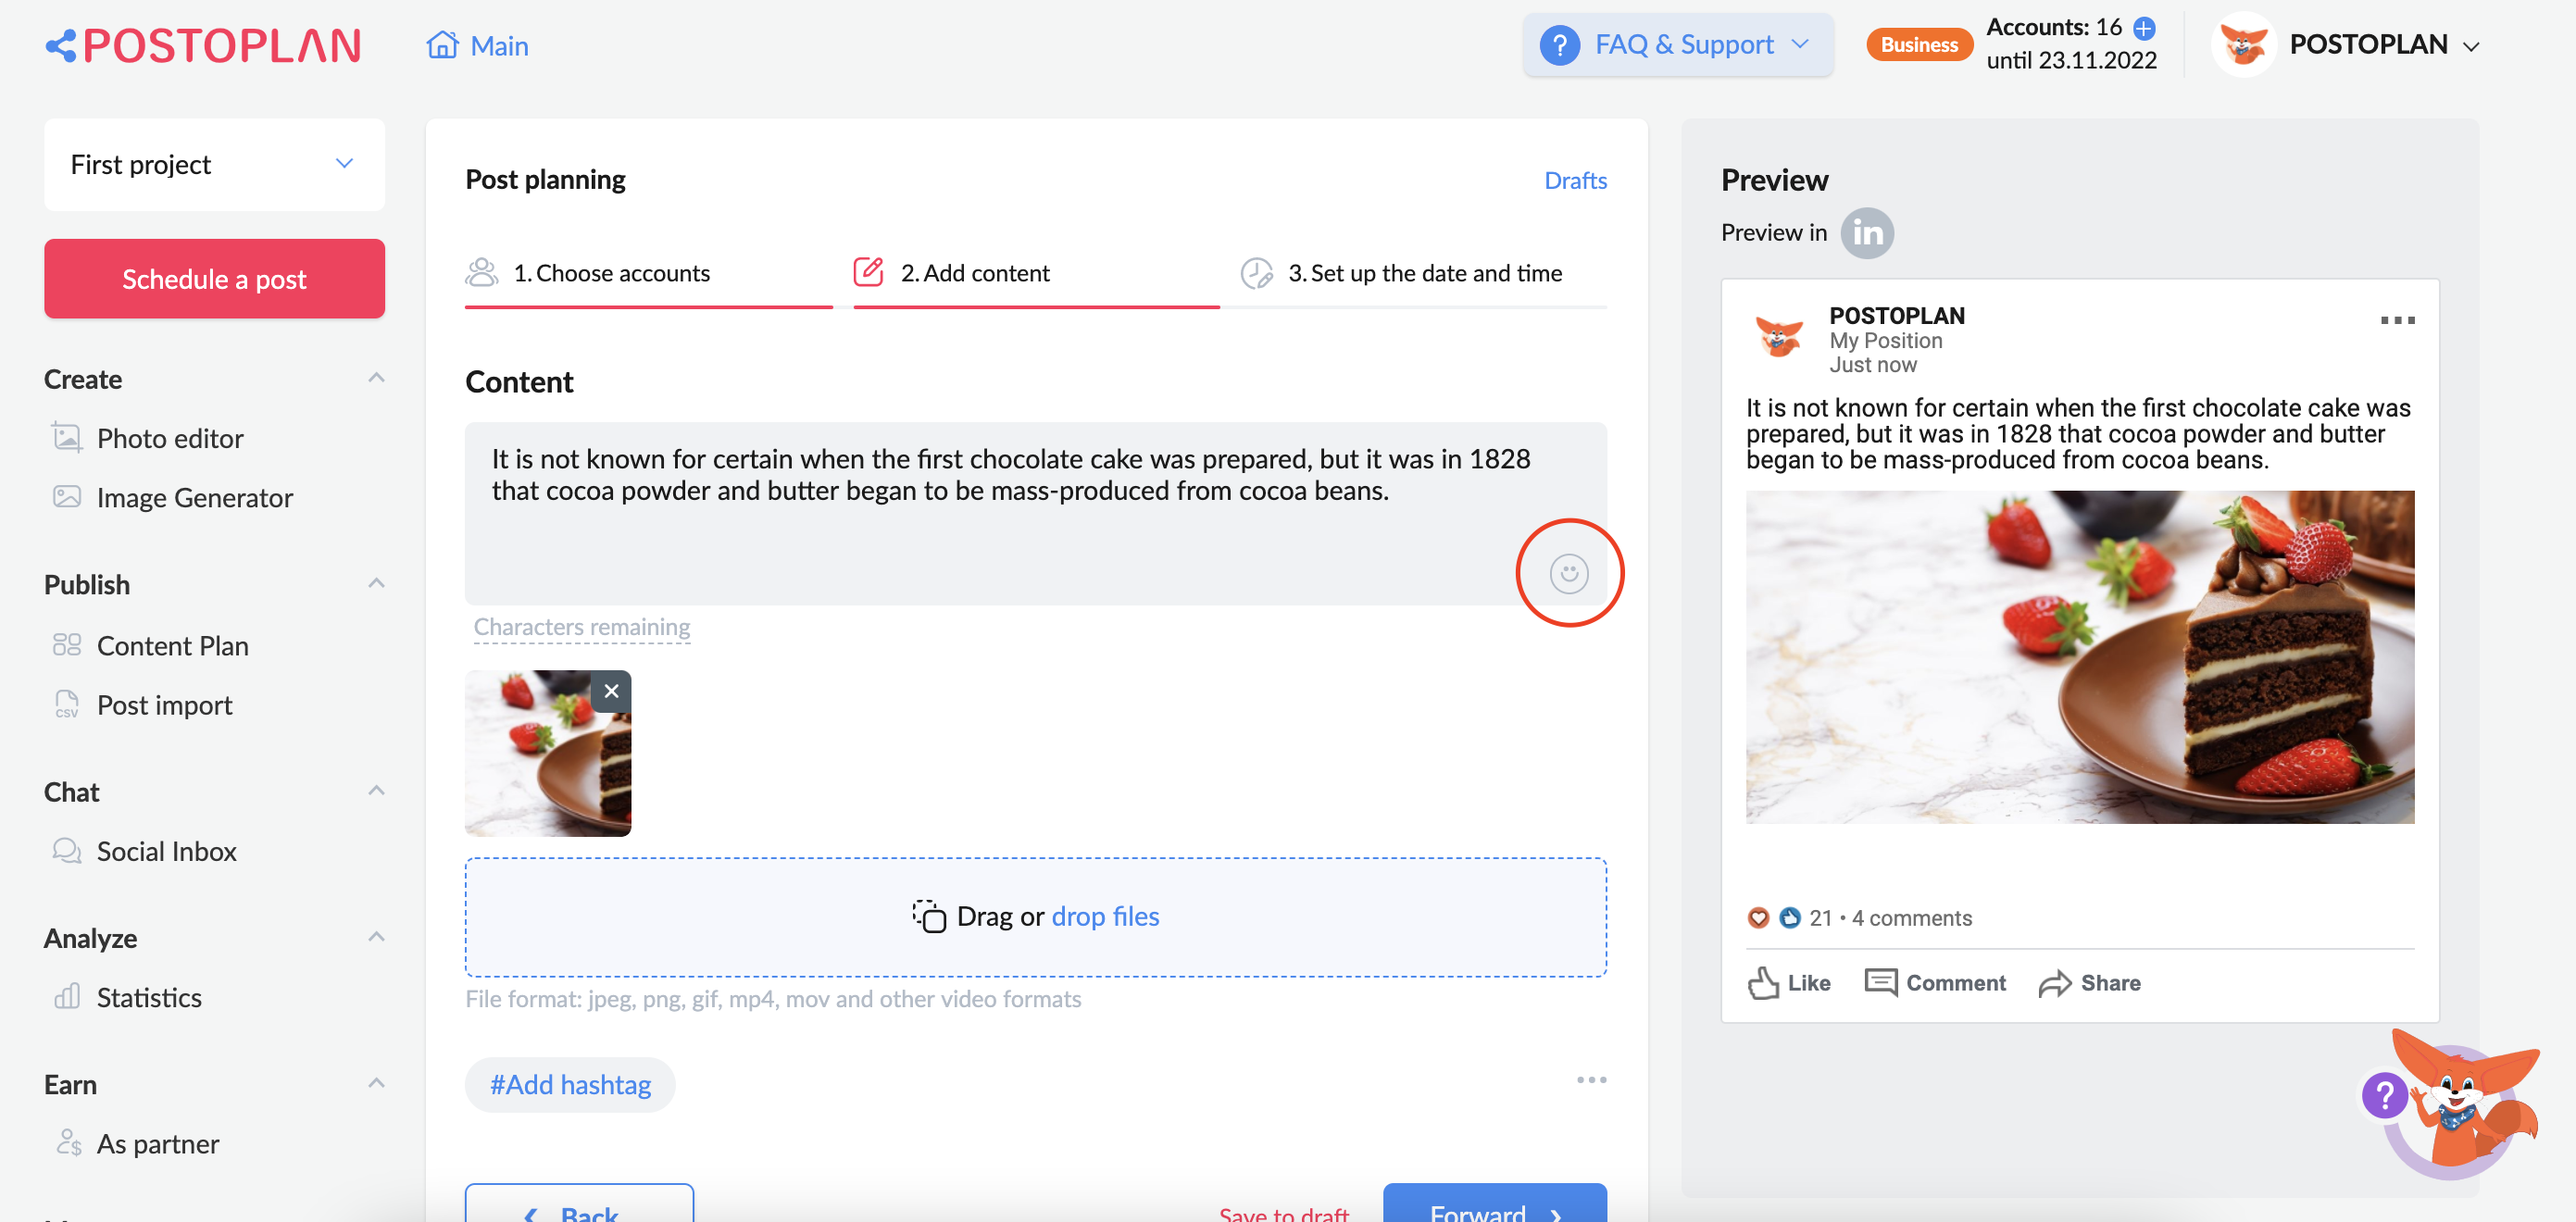
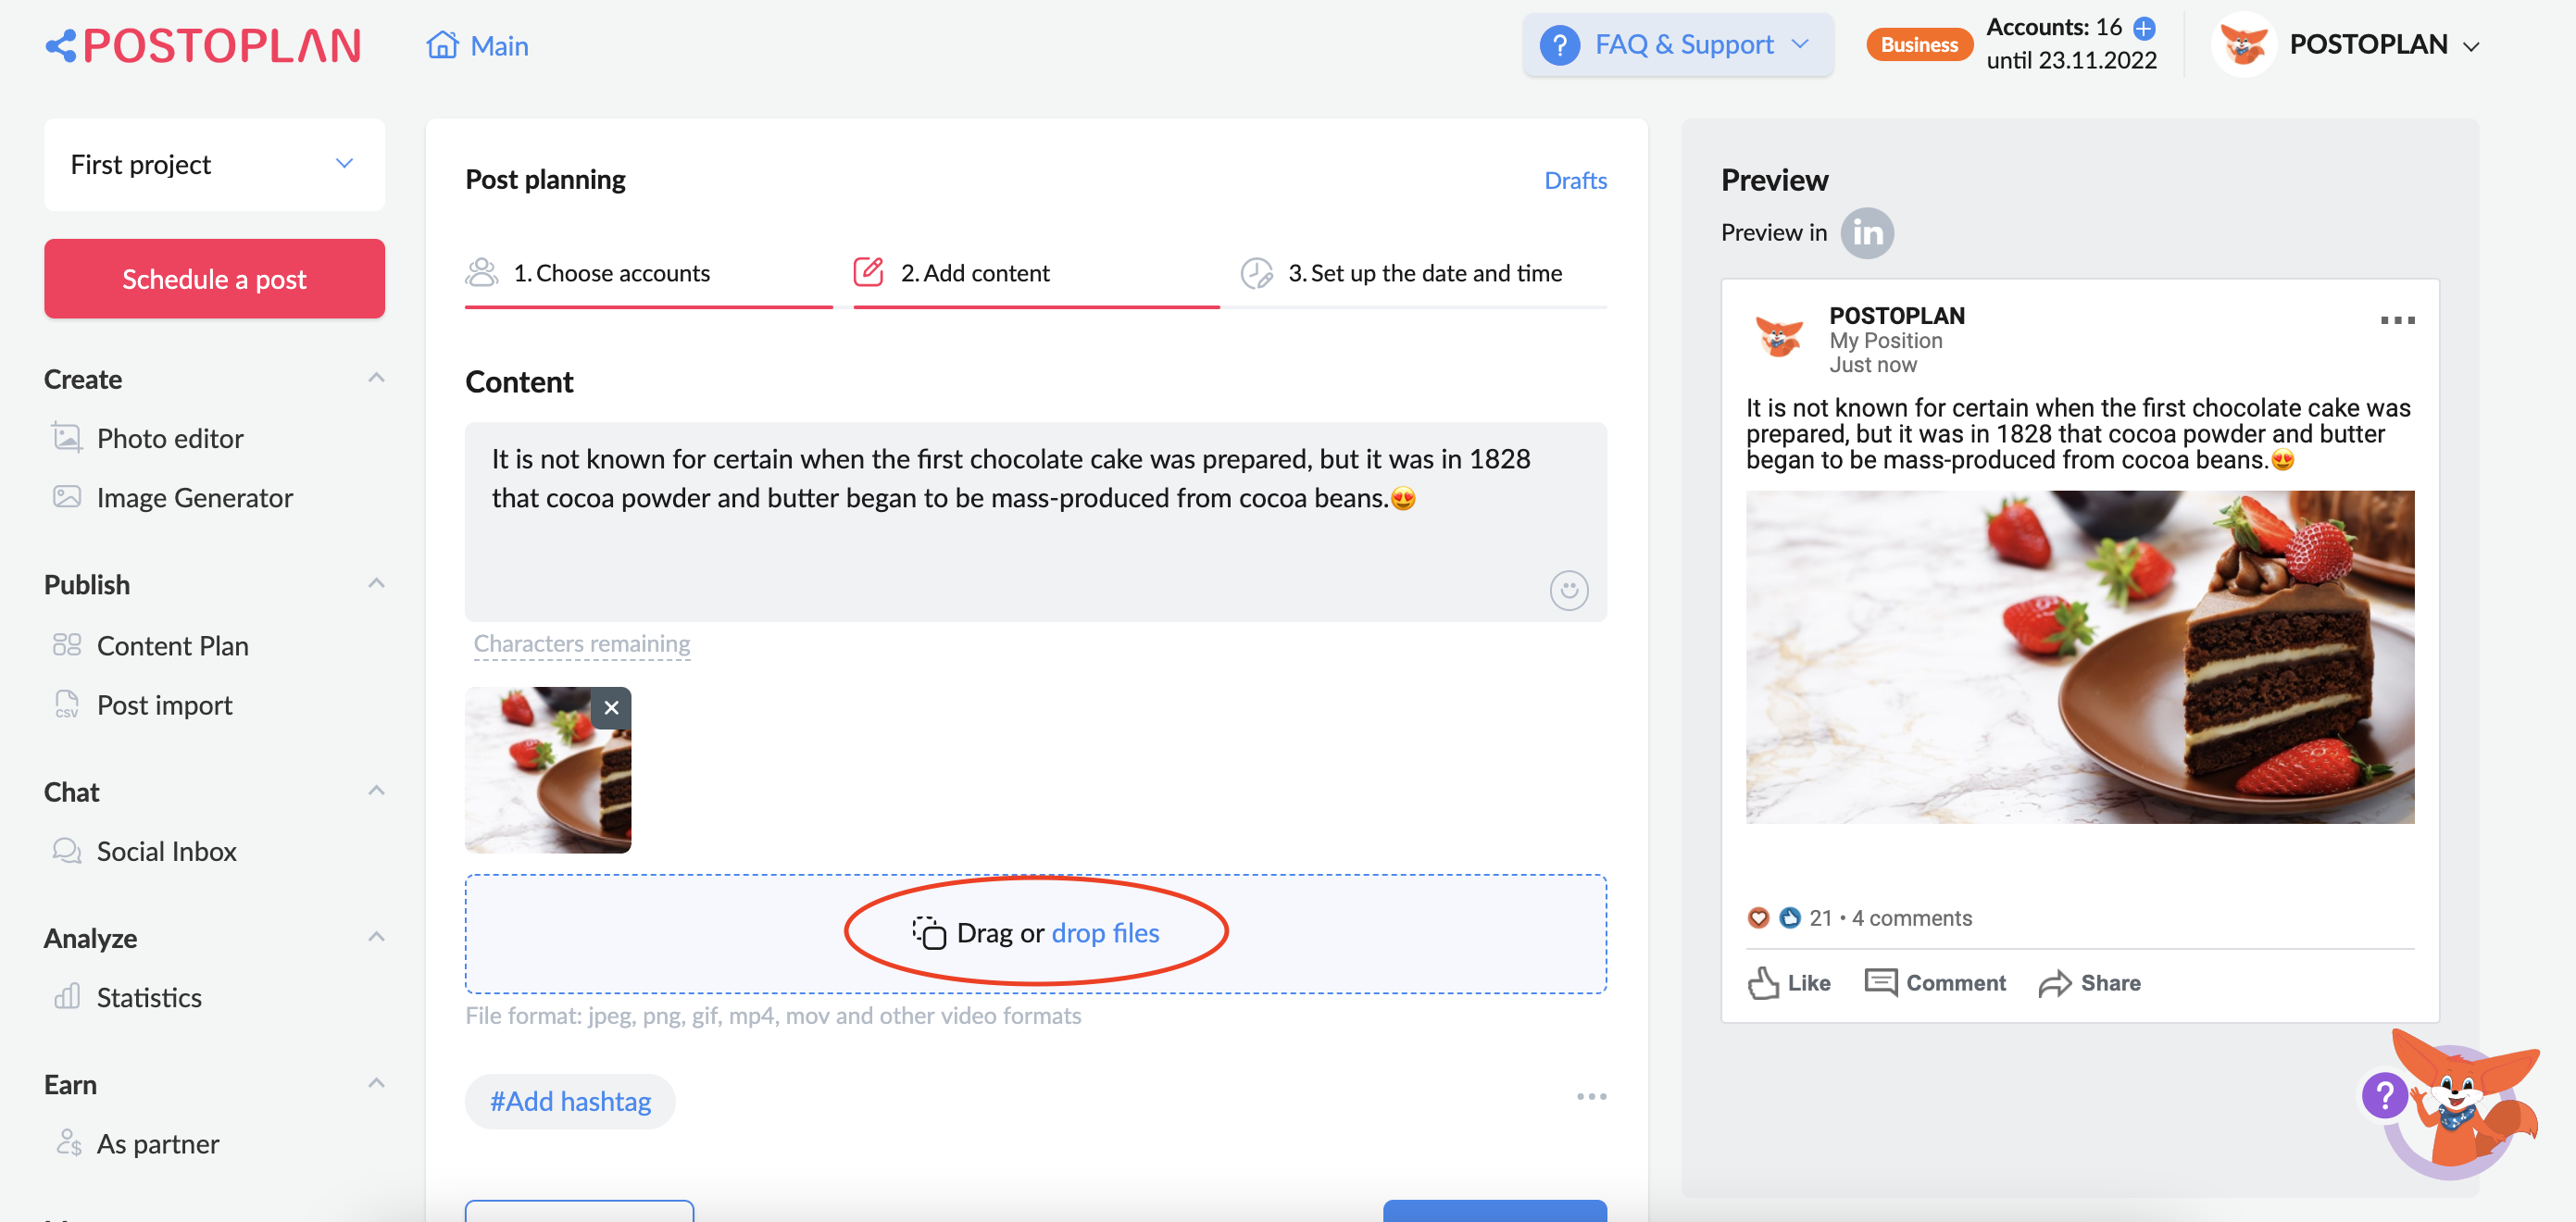
Add your content to your post. Click the “Description” field to add text:
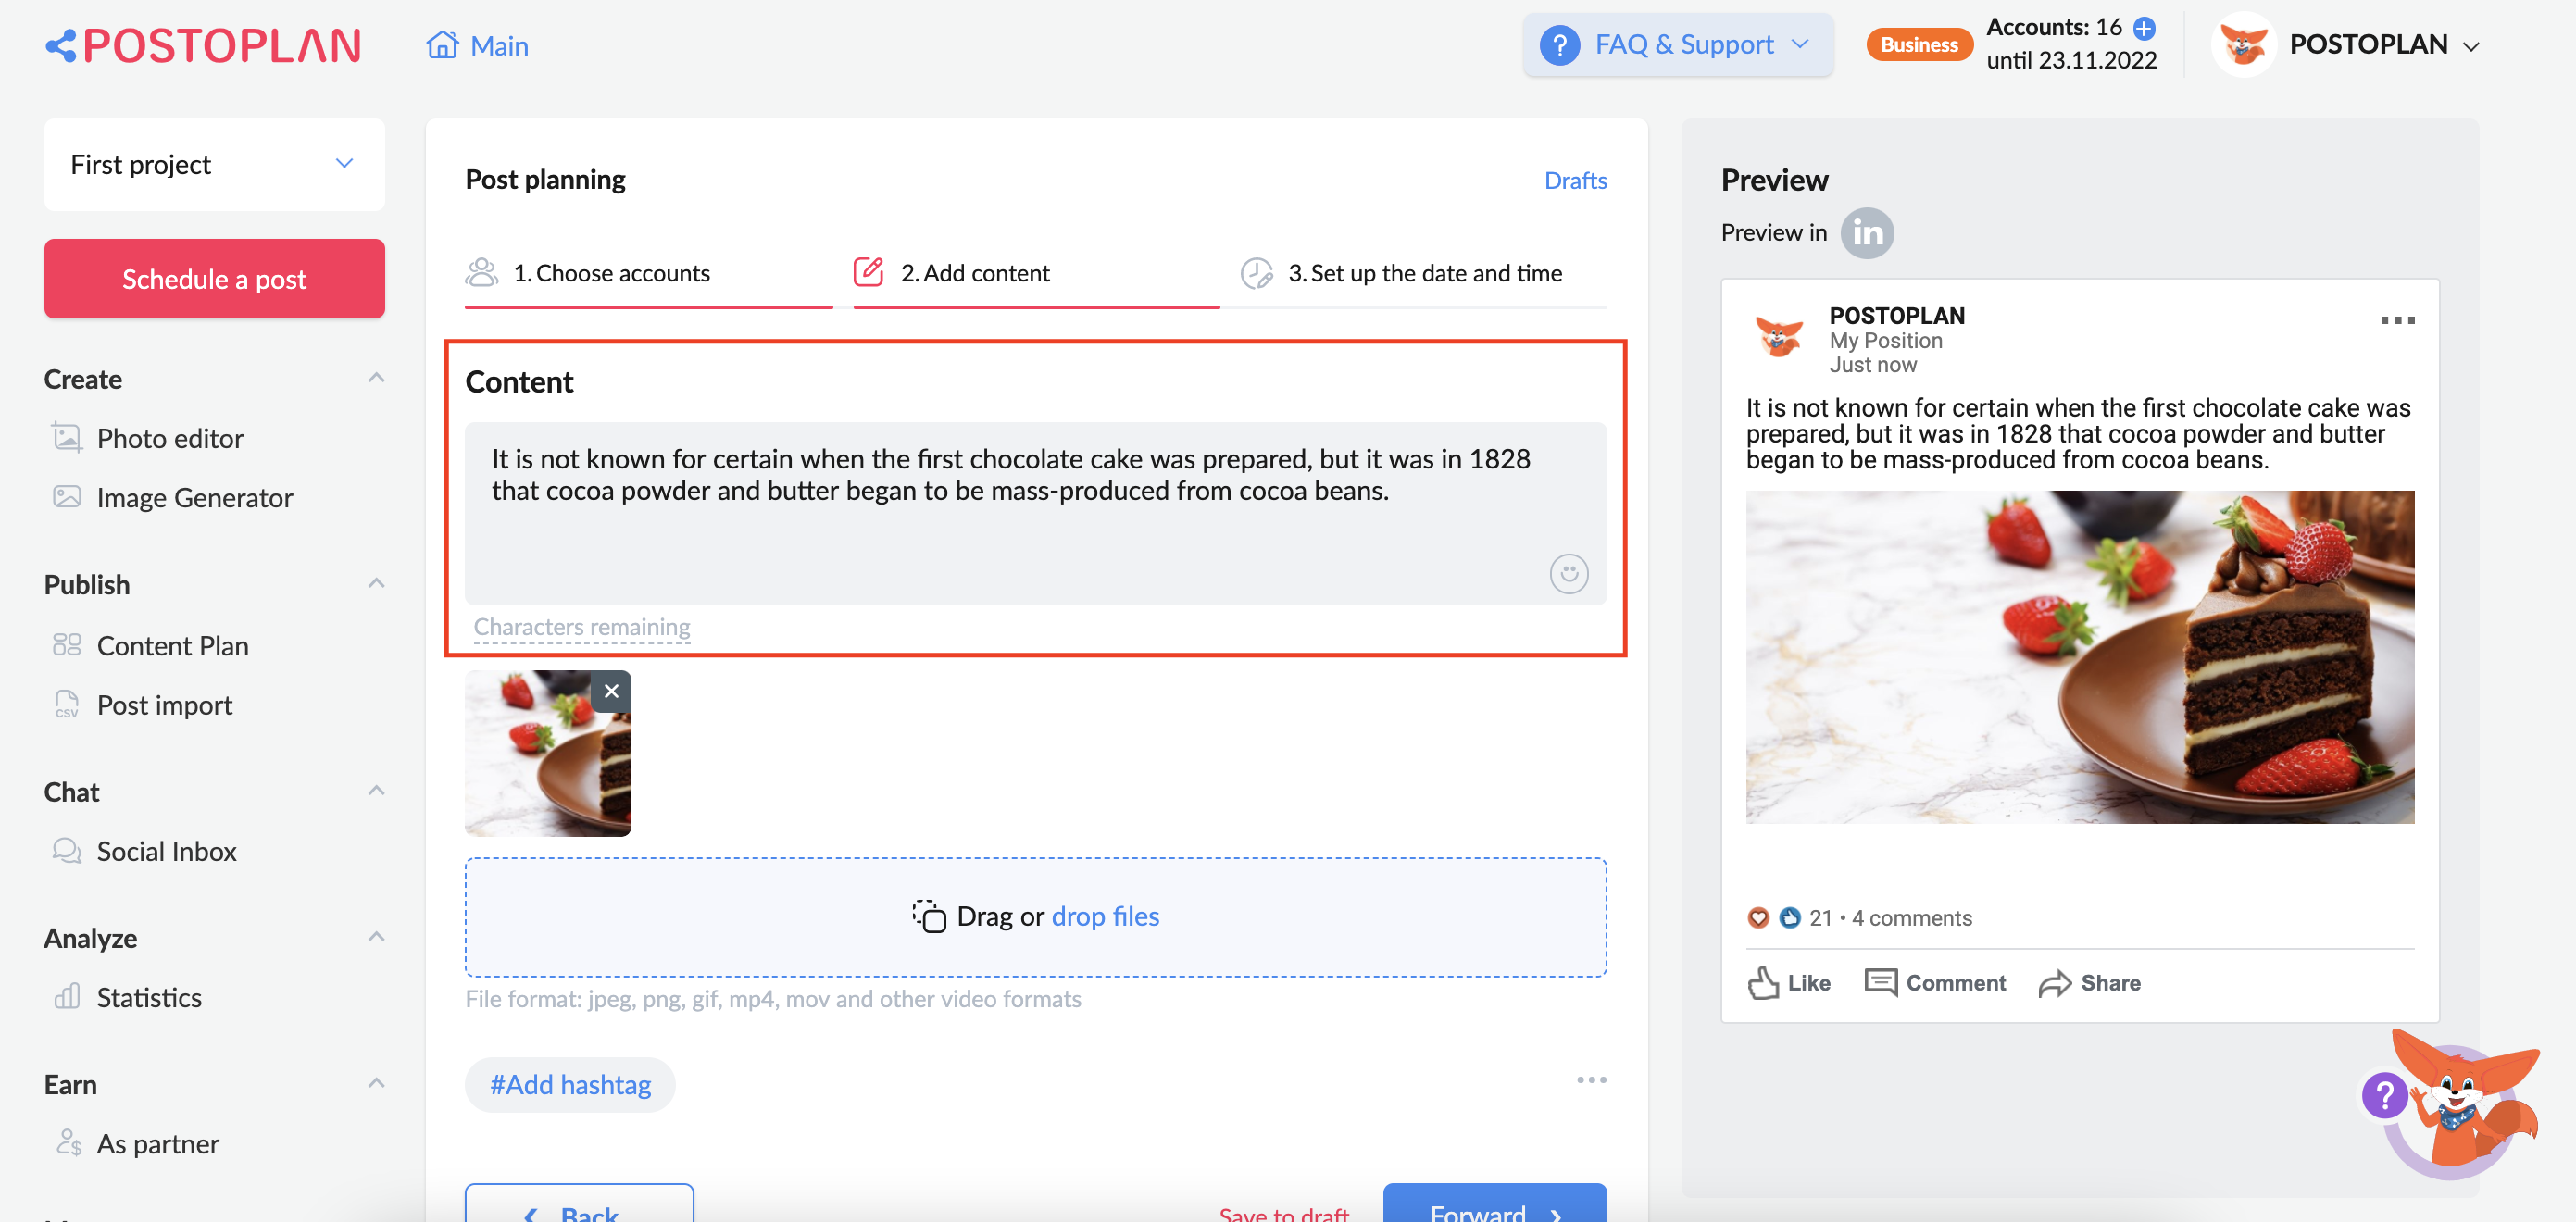
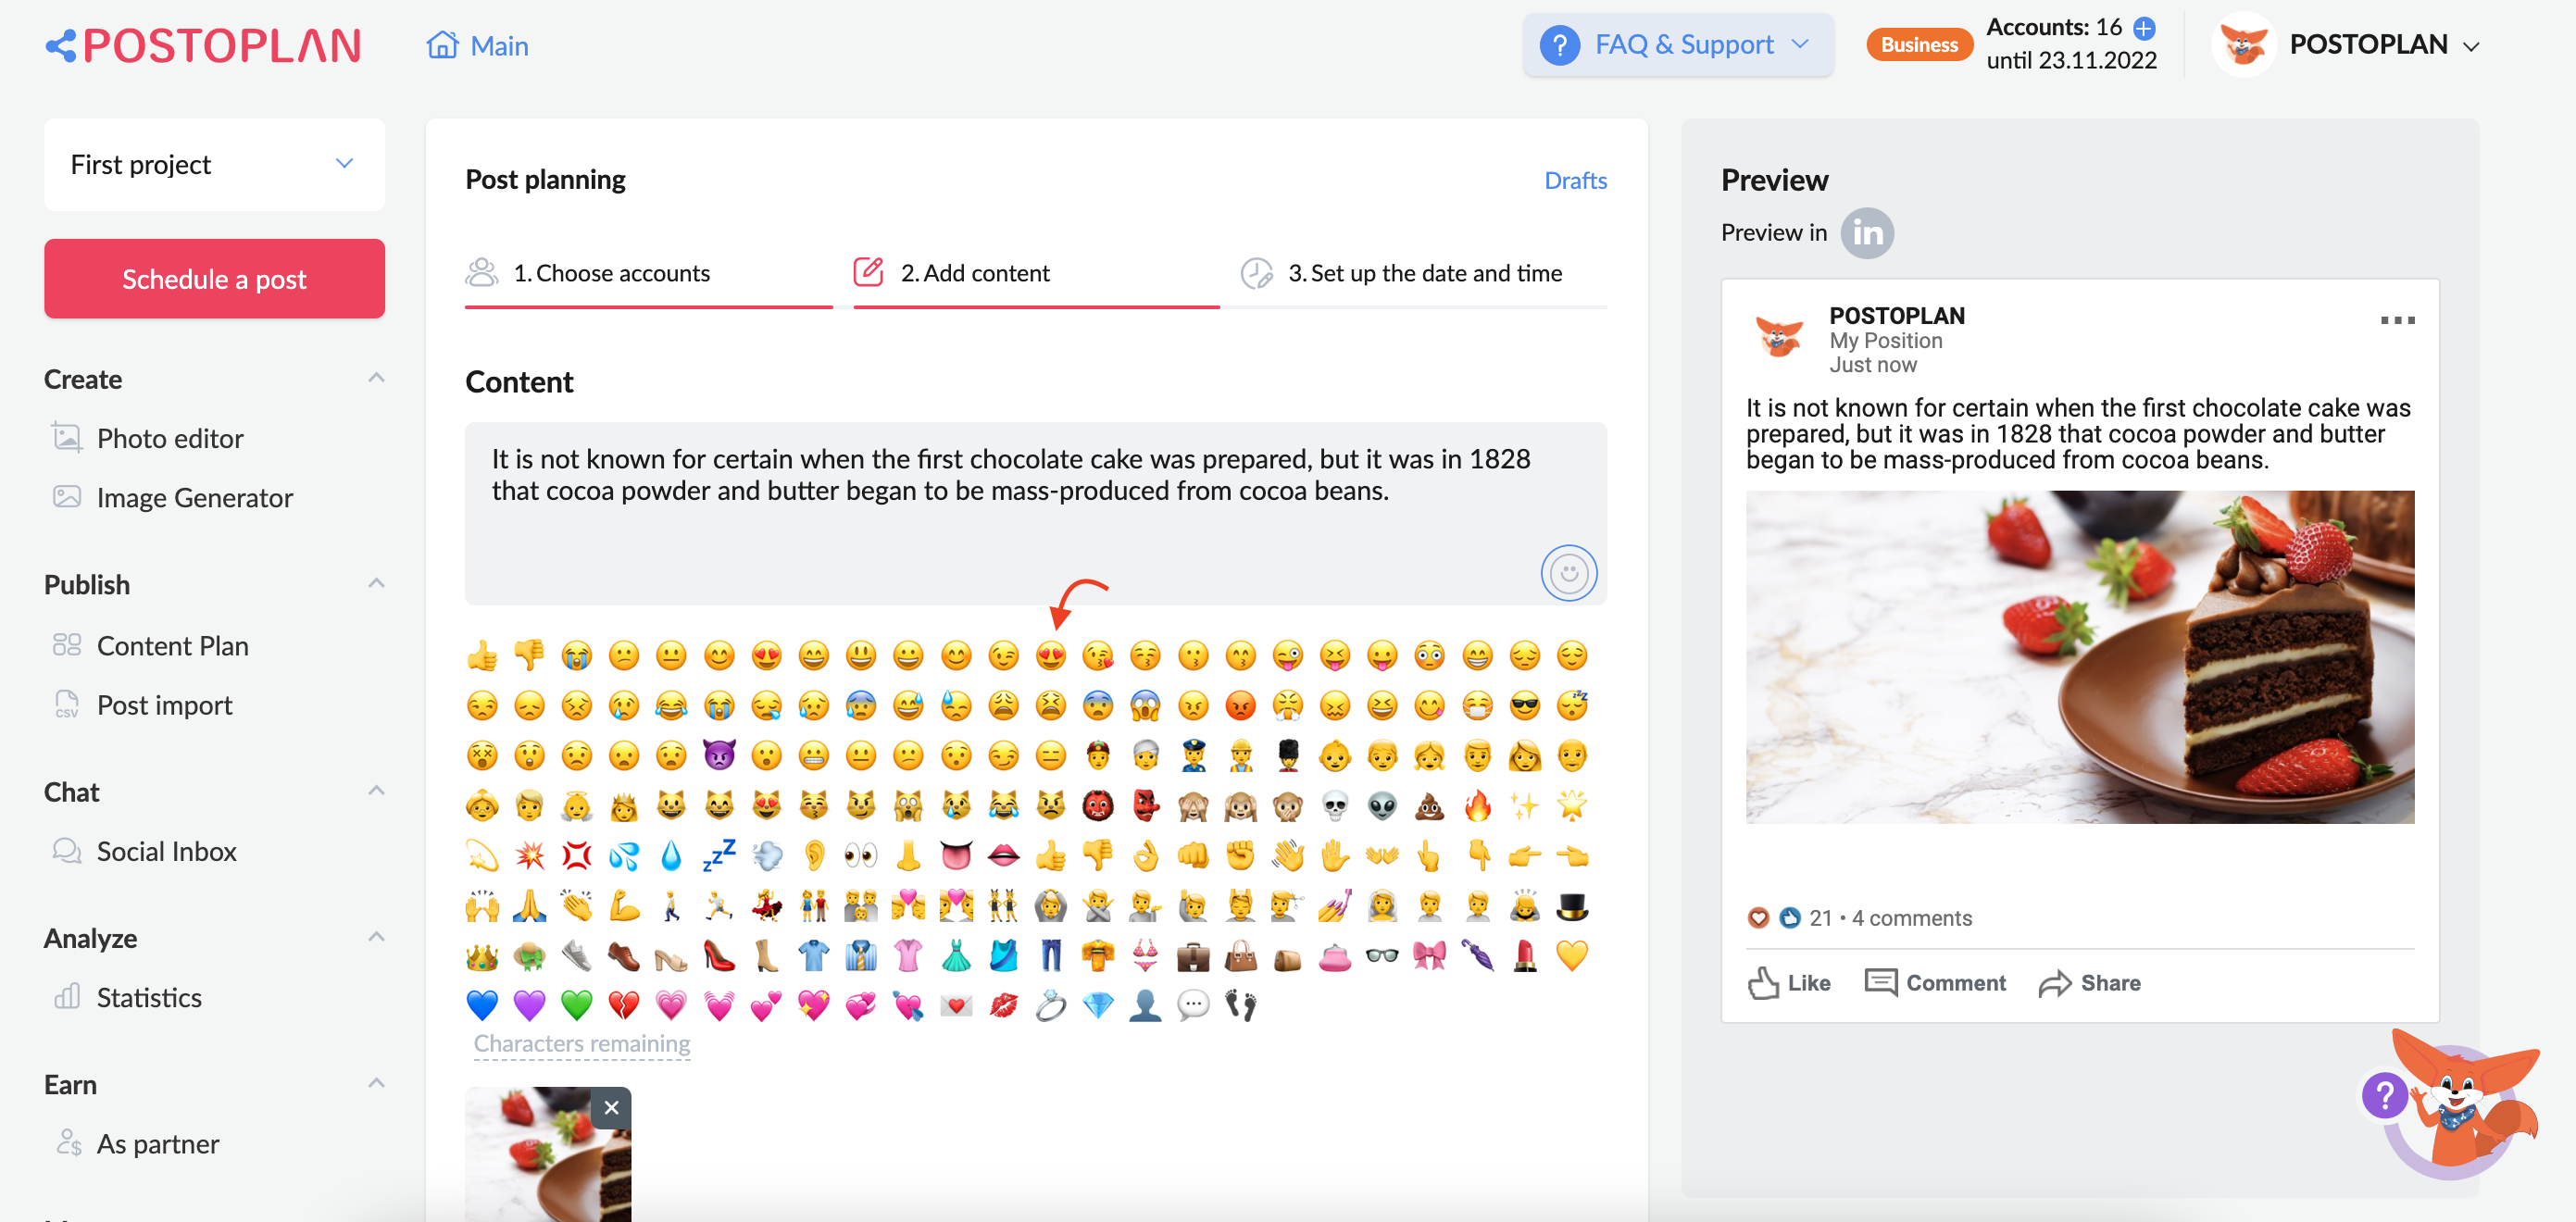
Click the emoji icon to add an emotion to the text:
Choose the emoticon that fits best from the list and click it:
Click on the appropriate fields to add an image or video to your post:
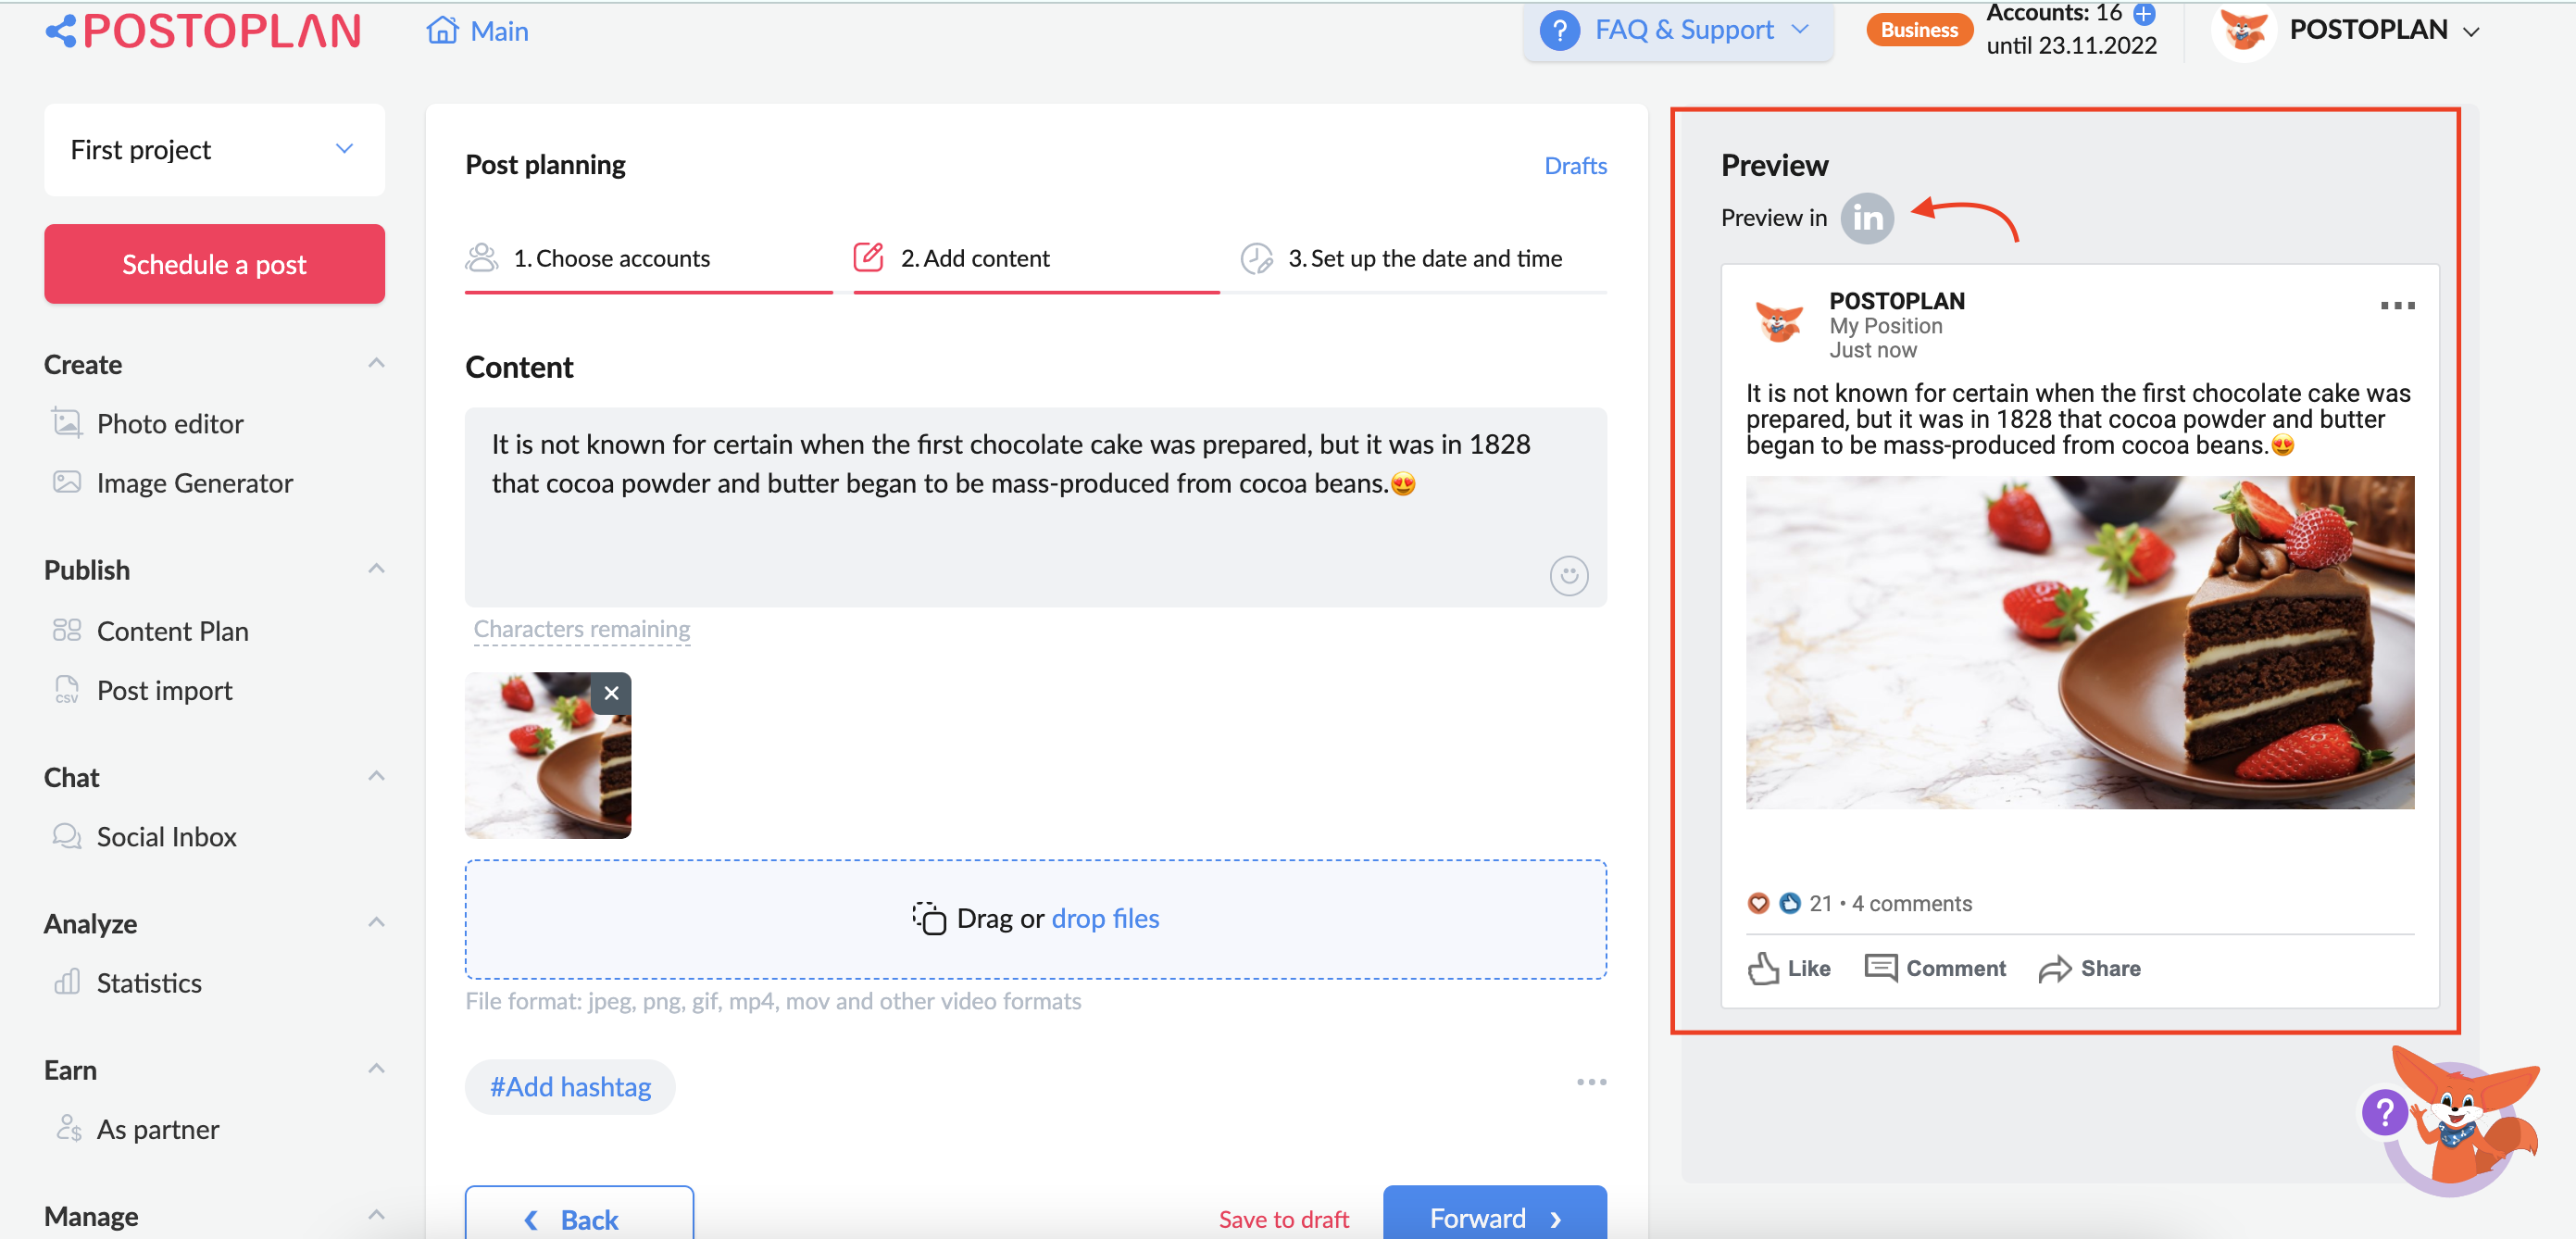
If you have one account in the project, it is already selected by default. In this case the post is immediately displayed in the Preview section.
If you select multiple accounts, the post preview will be available for all these accounts. You can view how the post will look on the corresponding social media by clicking on the social media icons.
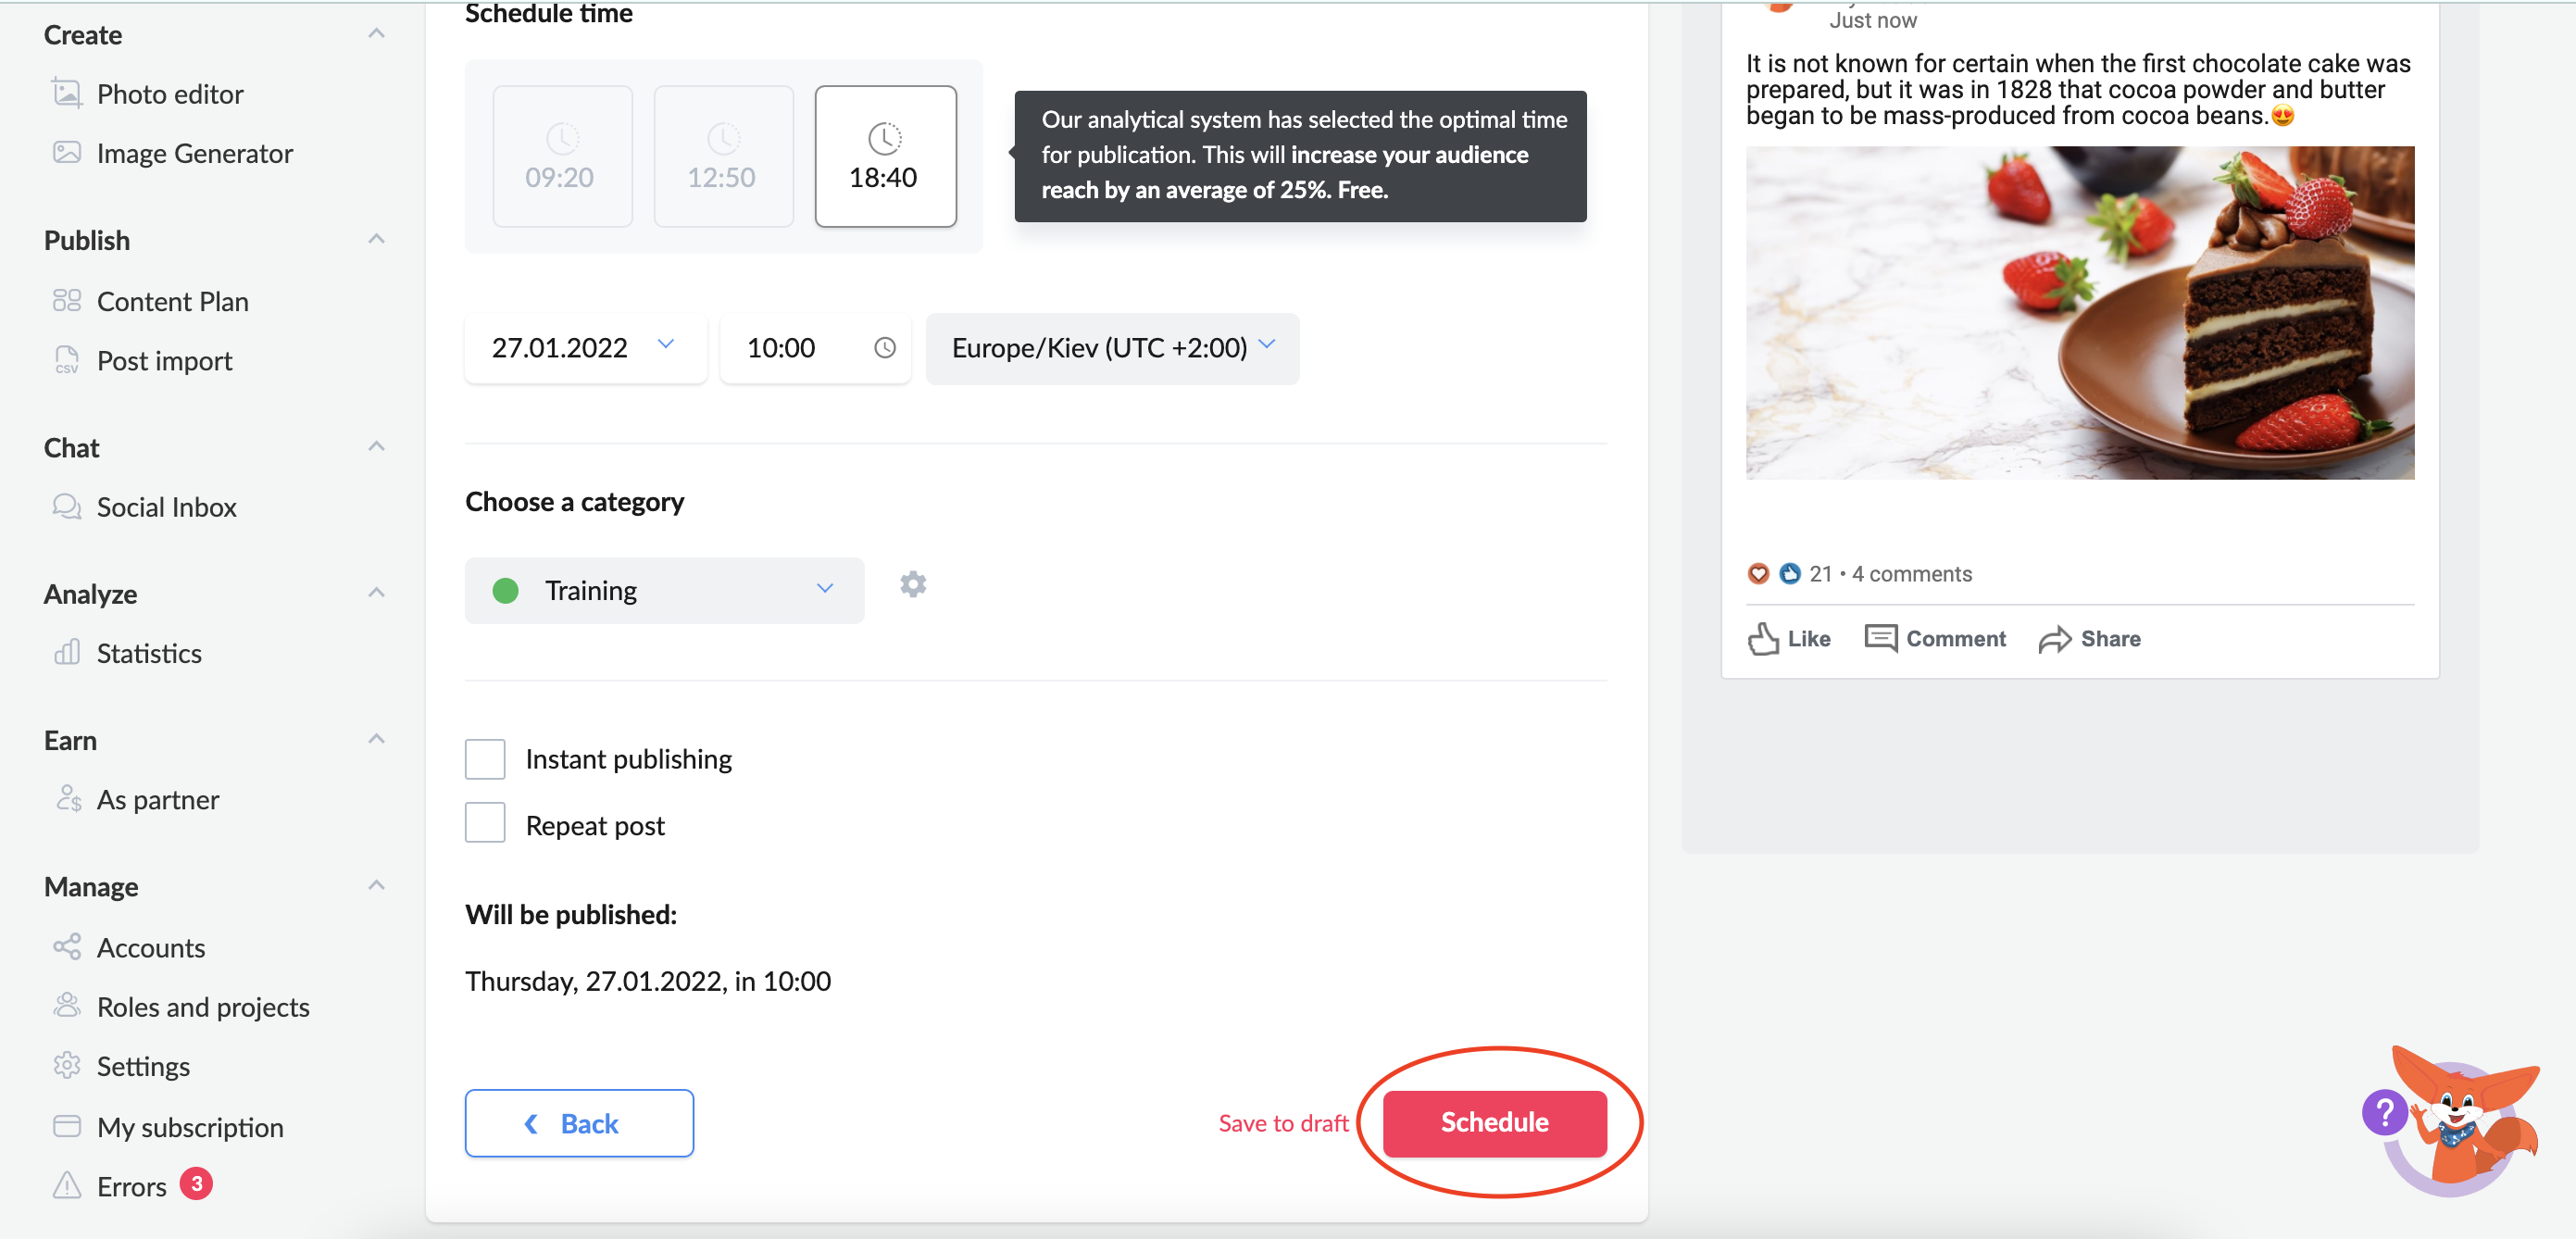
After you add content, proceed to “Setting the date and time” by clicking the button “Next”:

Then choose the release date of the postponed publication on Linkedin by clicking the appropriate field:
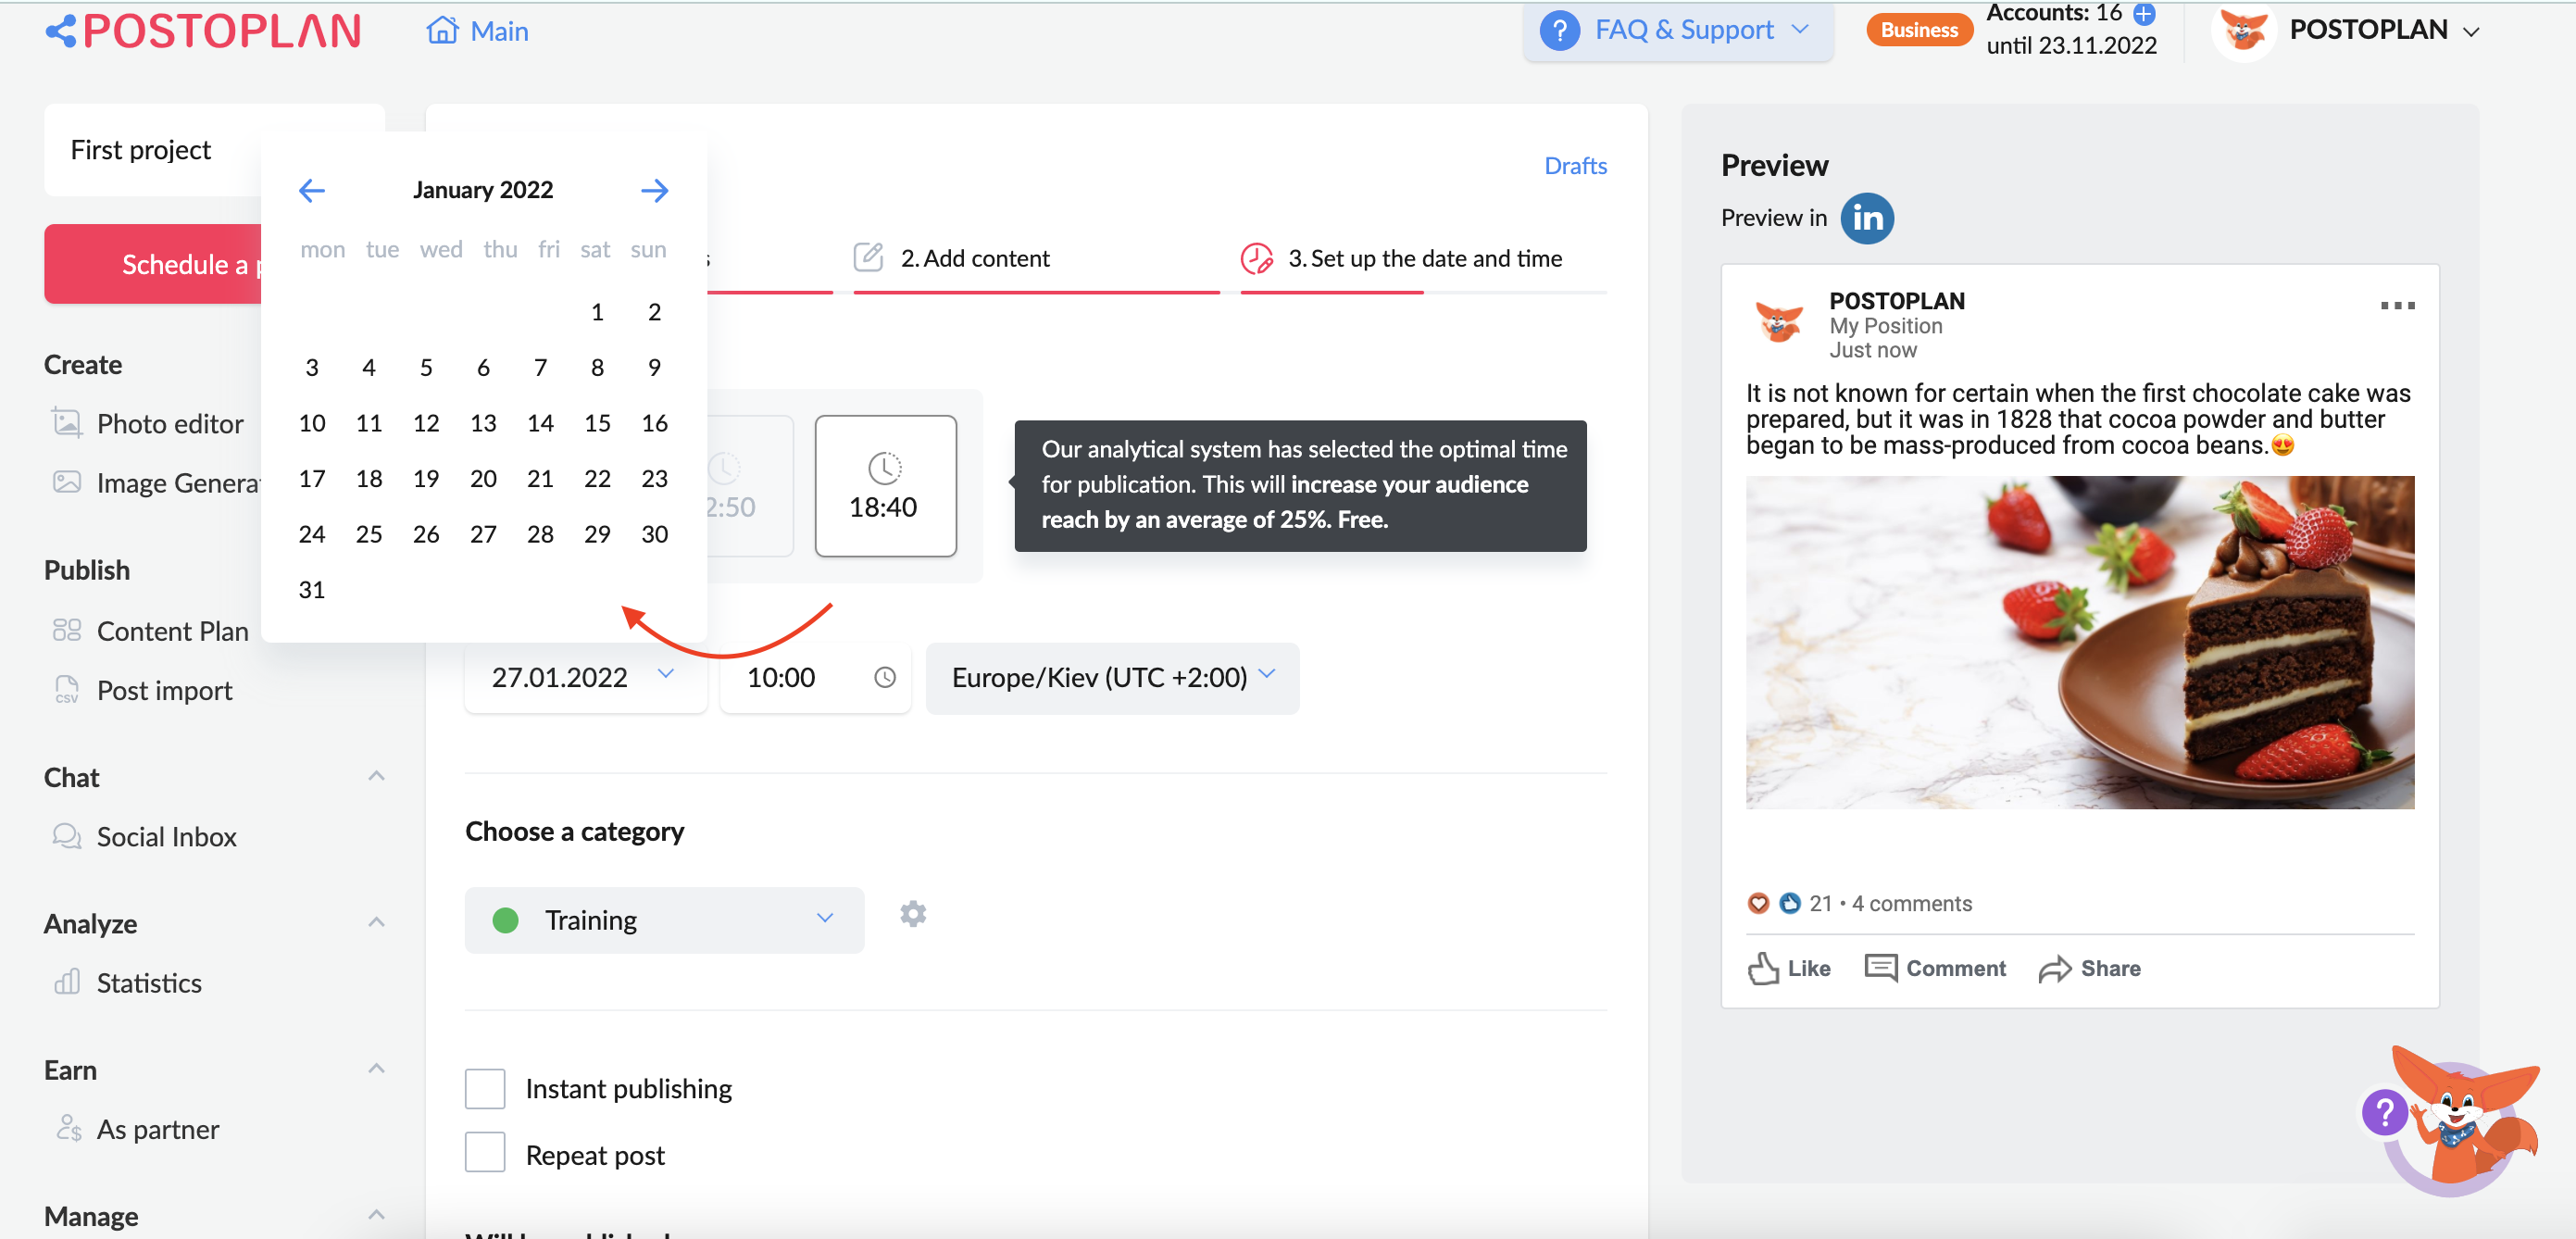
Click the appropriate cell or fill in the required numbers to select the time for the posting:
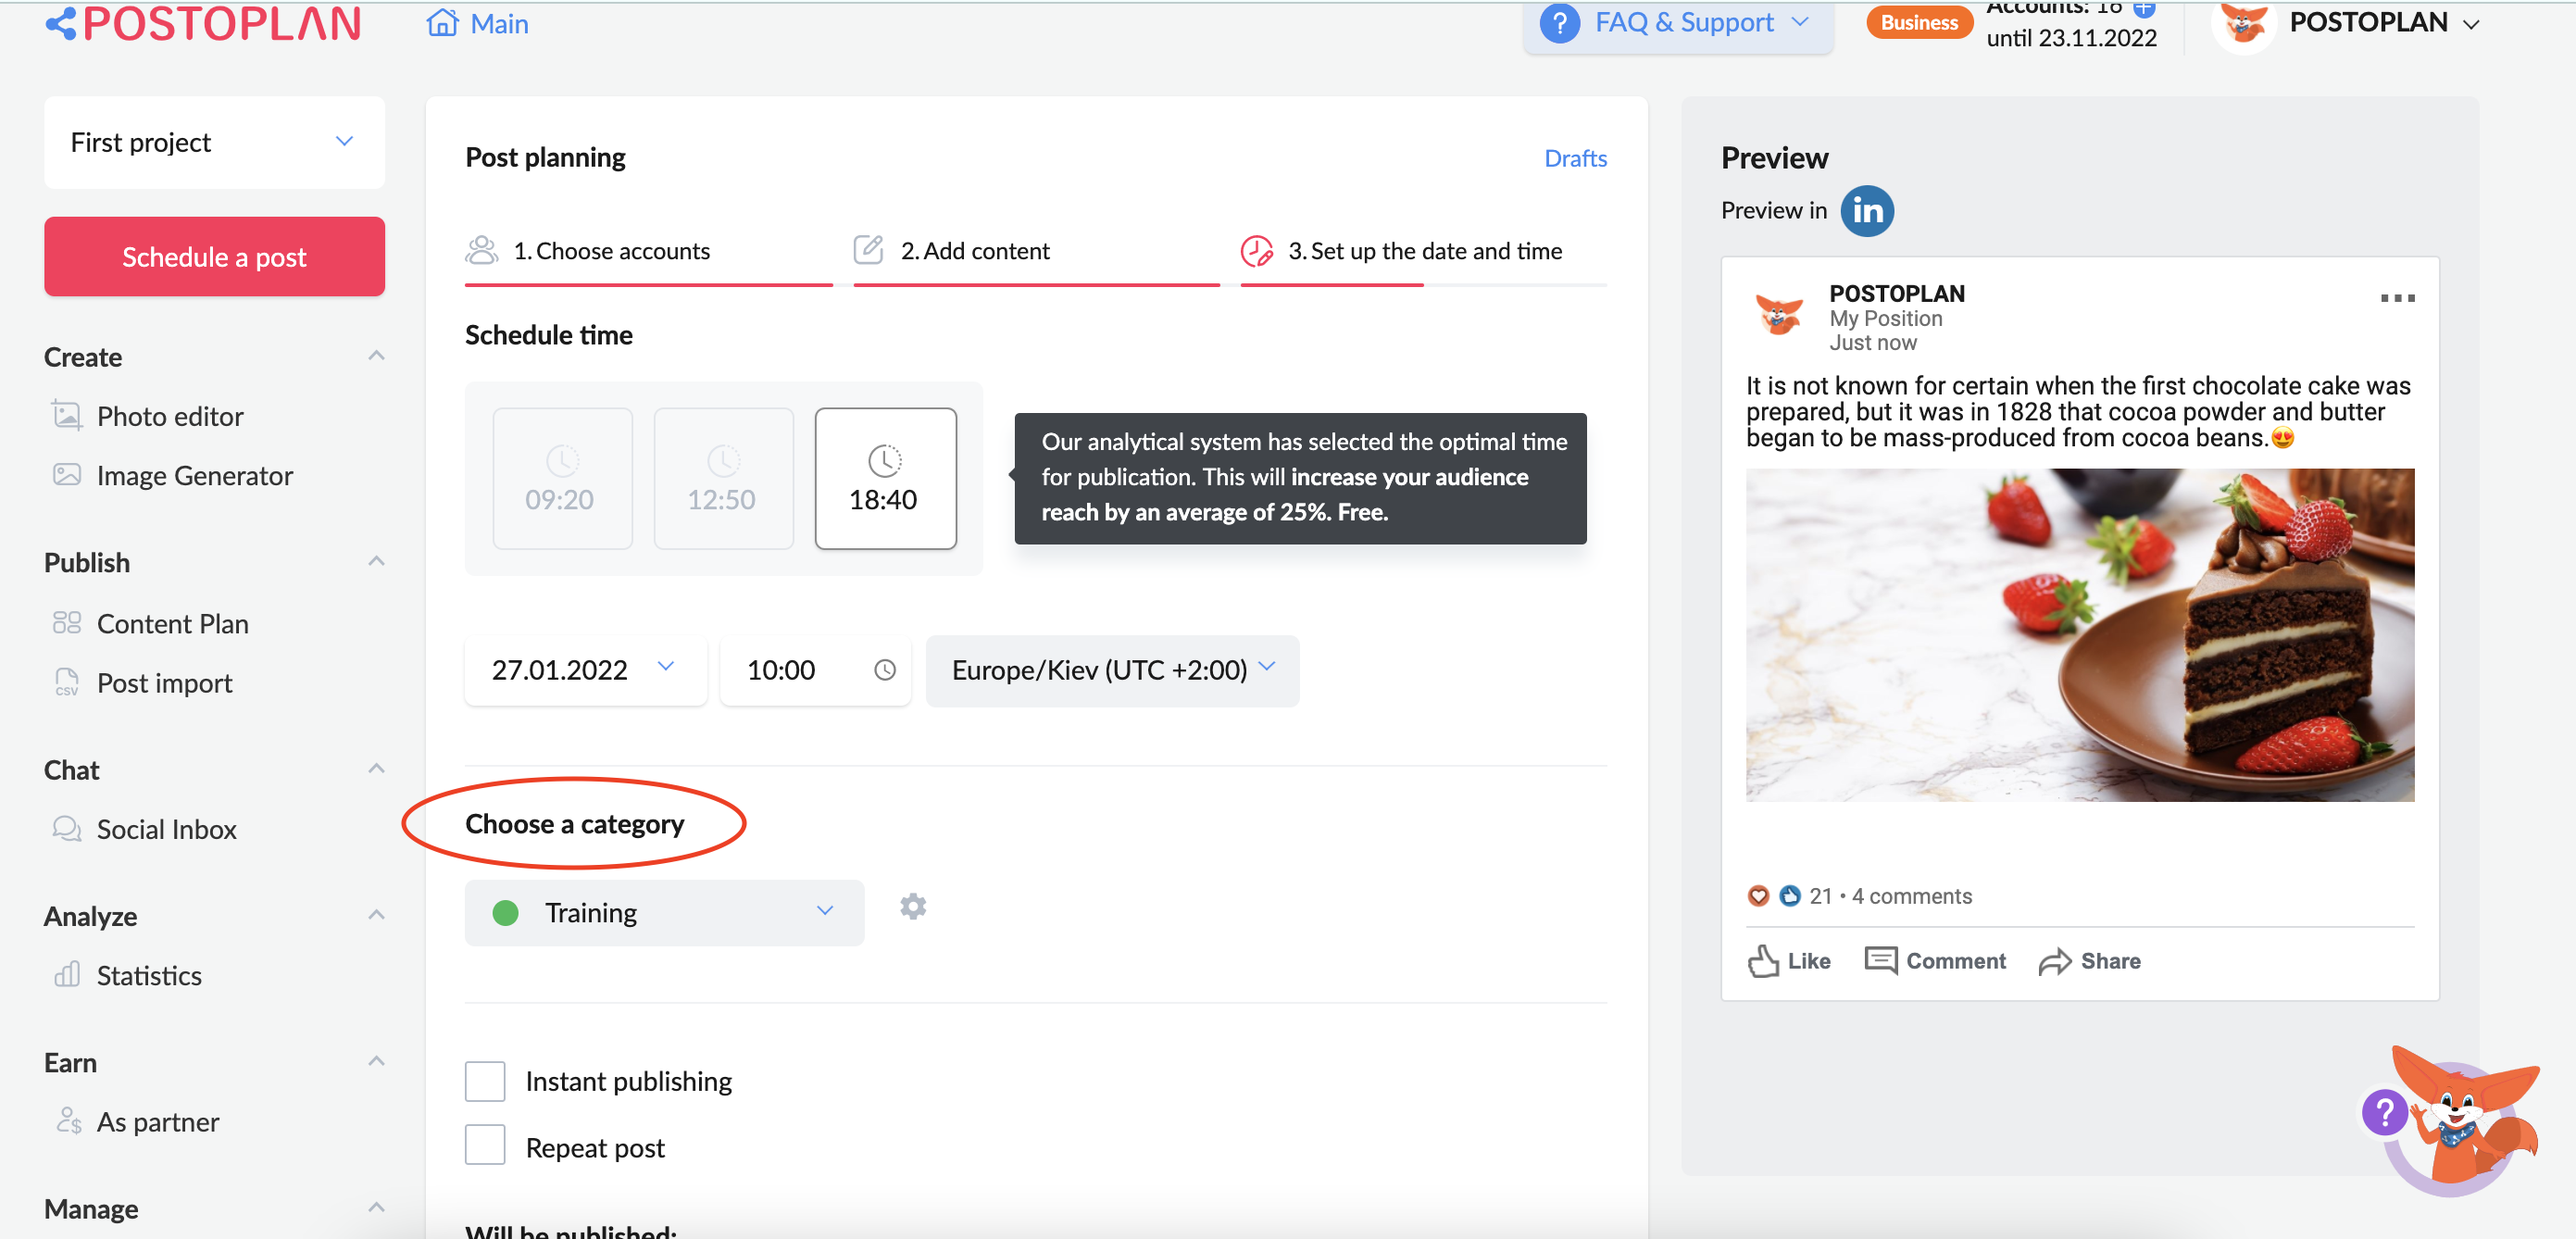
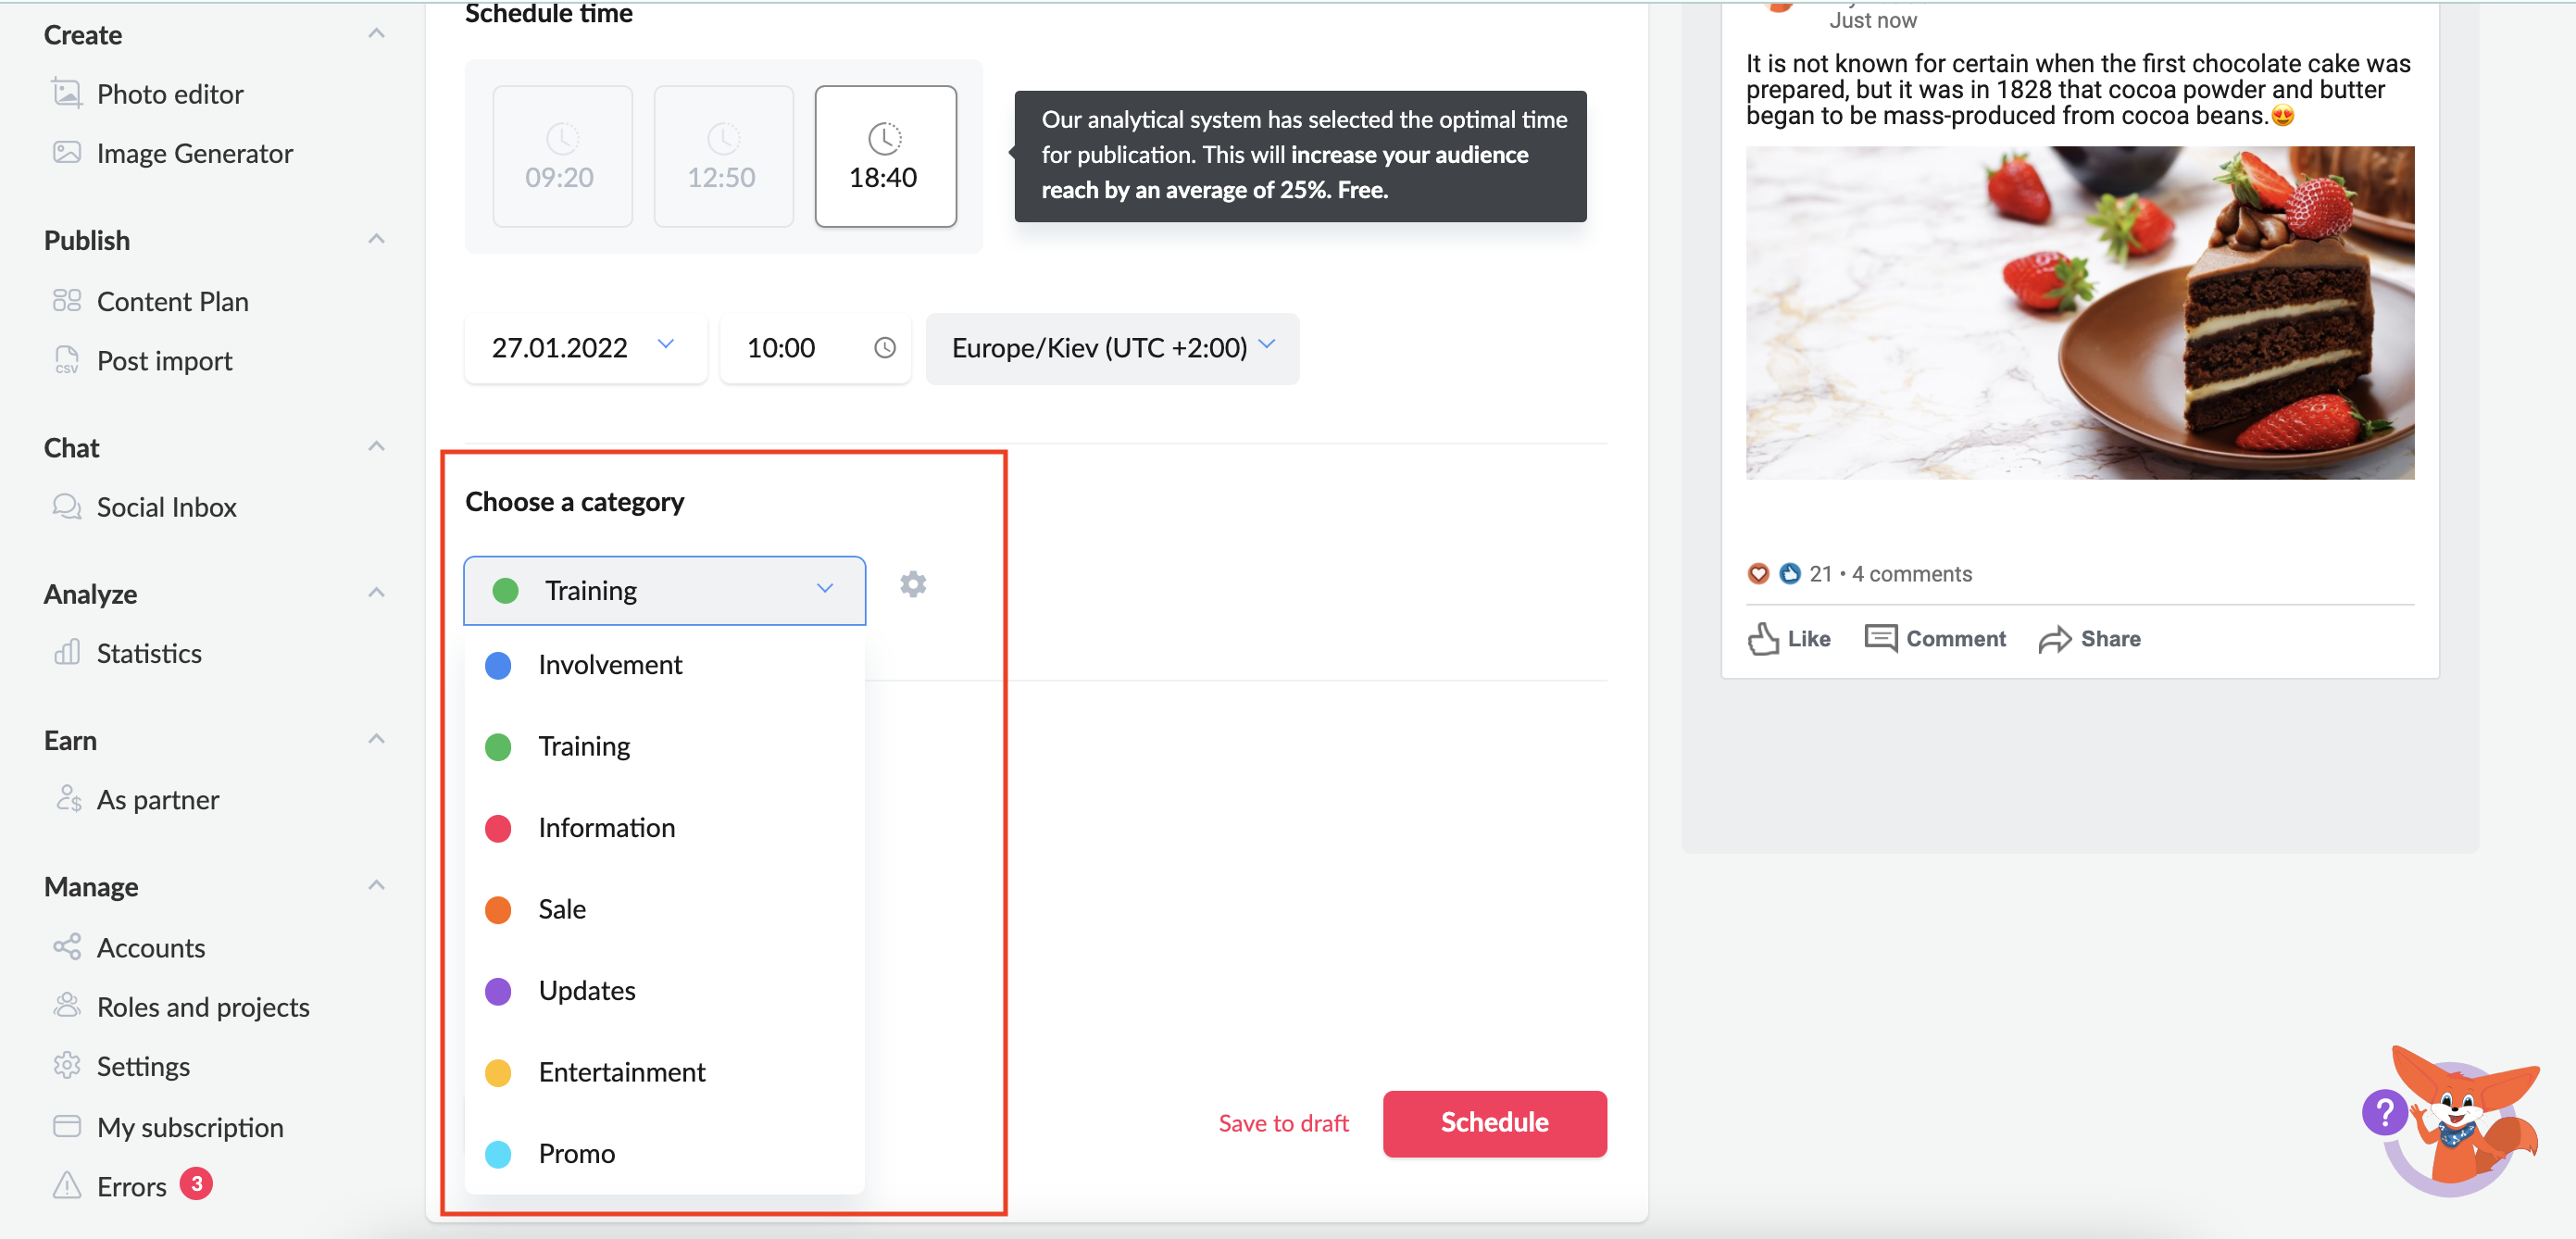
Select the post’s category by clicking on the arrow in the “Select Category” section:
Choose the most appropriate category and click it:
Then click “Schedule”: