Udostępnianie zbiorcze i planowanie treści w CSV
POSTOPLAN provides a mass upload feature that allows you to schedule multiple posts at once by importing CSV data.
The mass upload program presents several steps where you need to:
-
- Fill in the data for your messages.
- Select the accounts in which you plan to publish your posts.
- Schedule your posts.
How to schedule posts using mass uploading
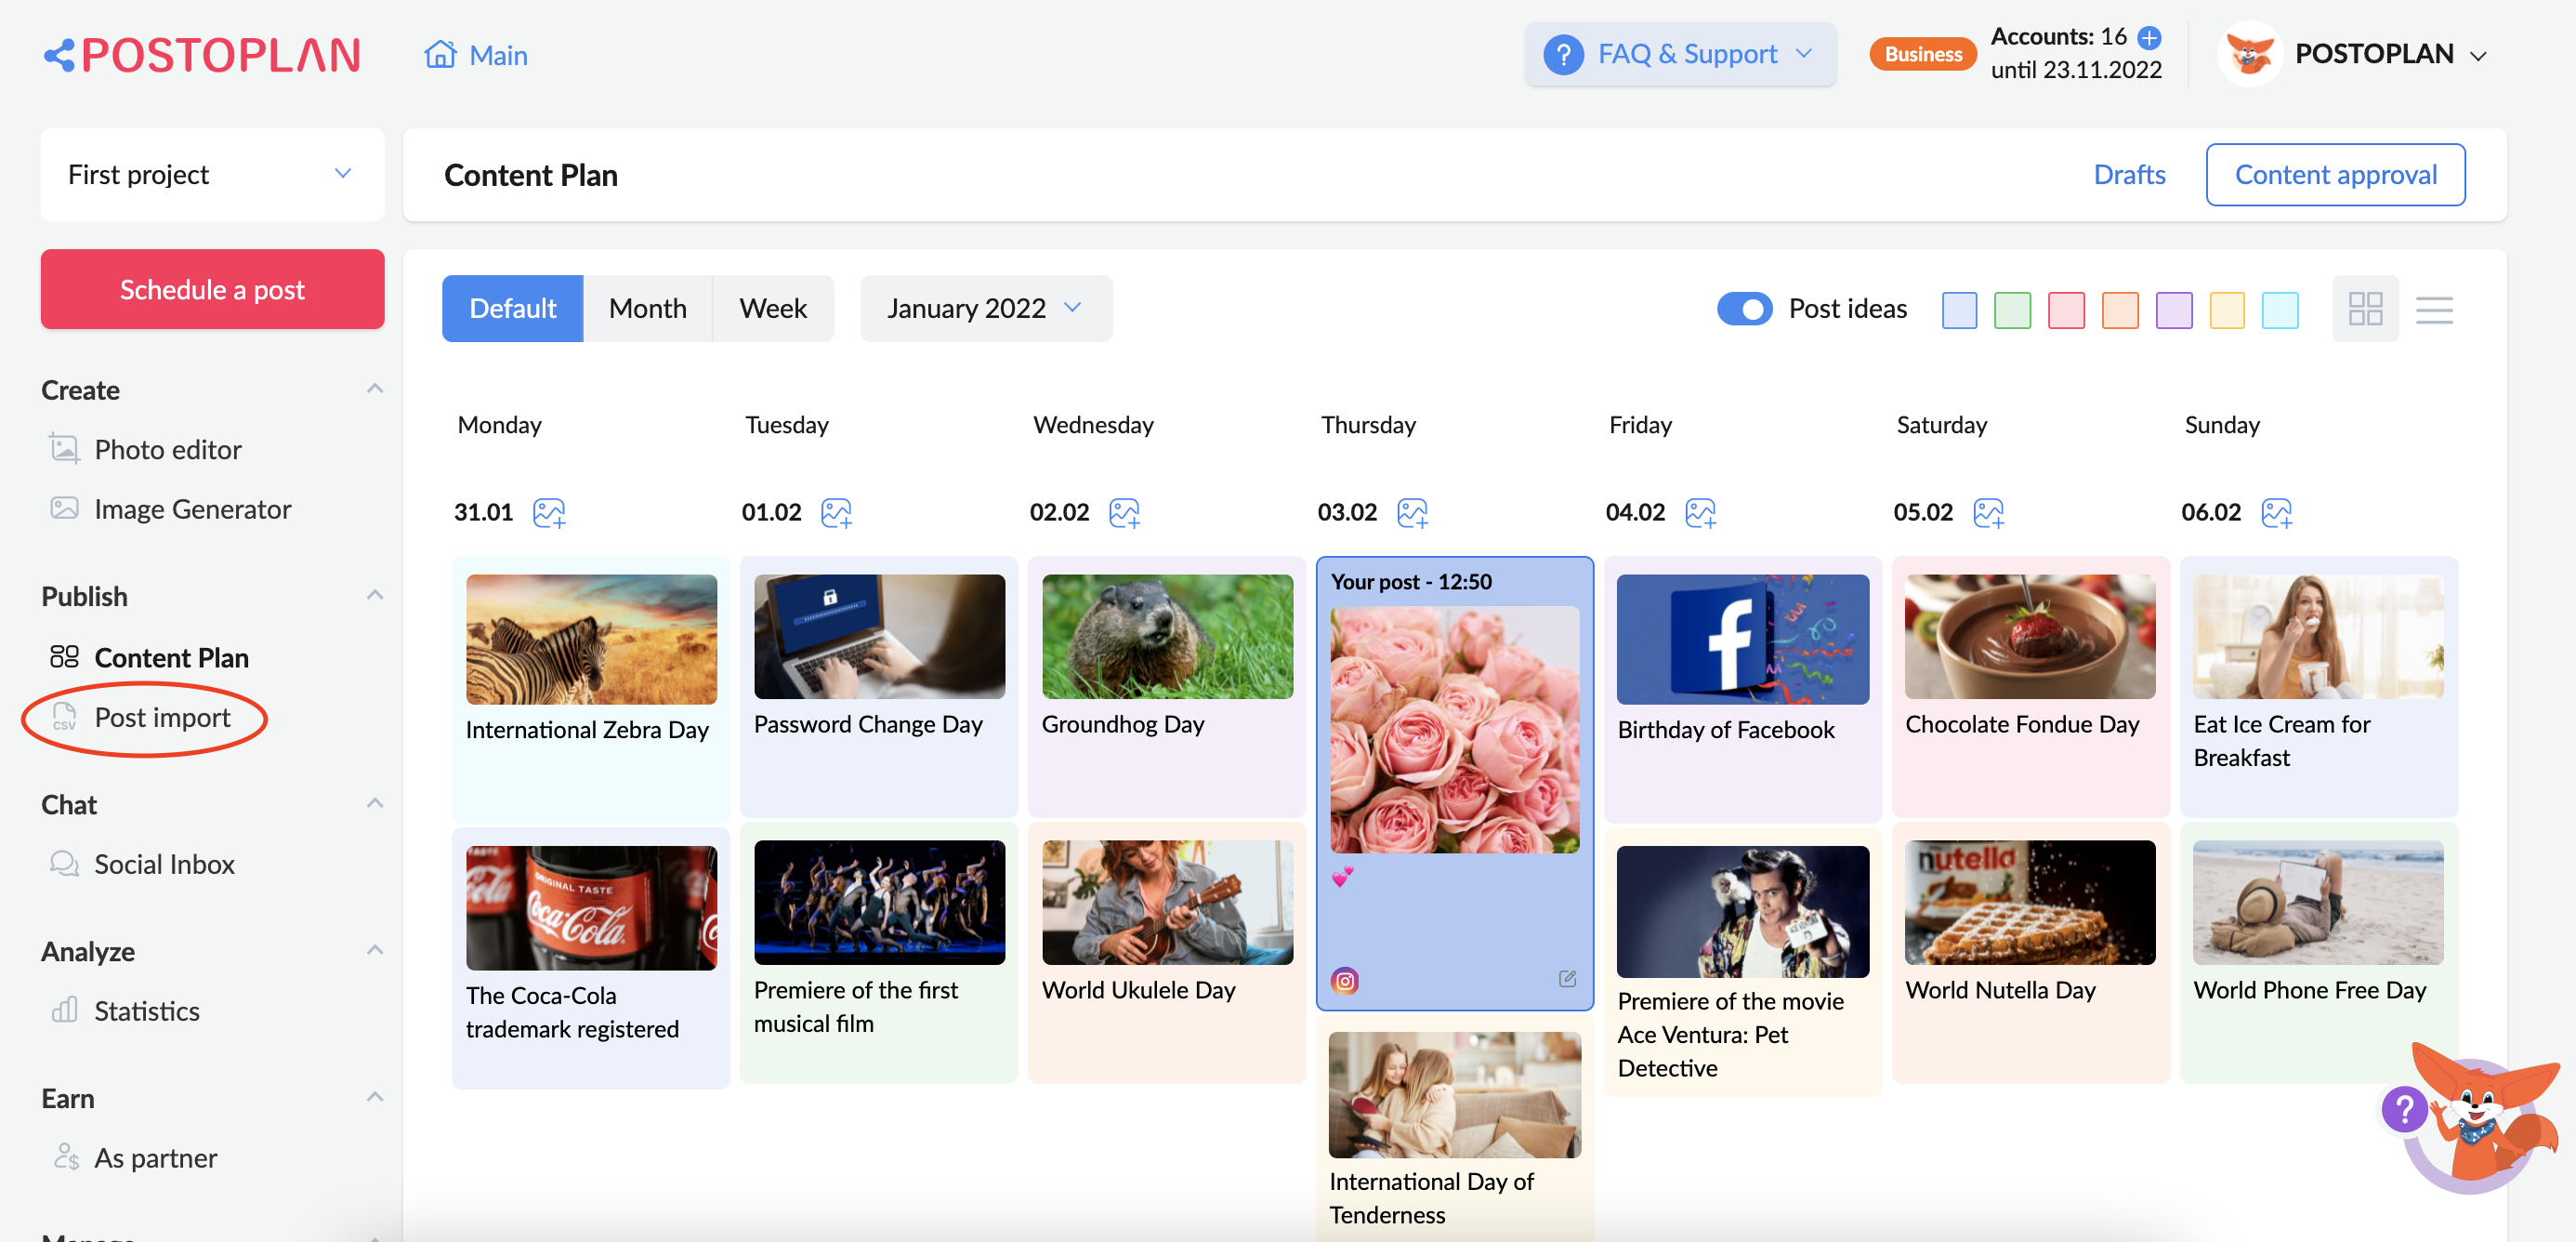
In your personal cabinet, in the “Publish” tab, select “Import Posts”:
STEP 1: Preparing and uploading a CSV file.
Here you need to upload a ready CSV file. You can review our CSV file template and edit it if necessary. Your file should contain the following information:
- Date and time
- Message
- URL of the image or video
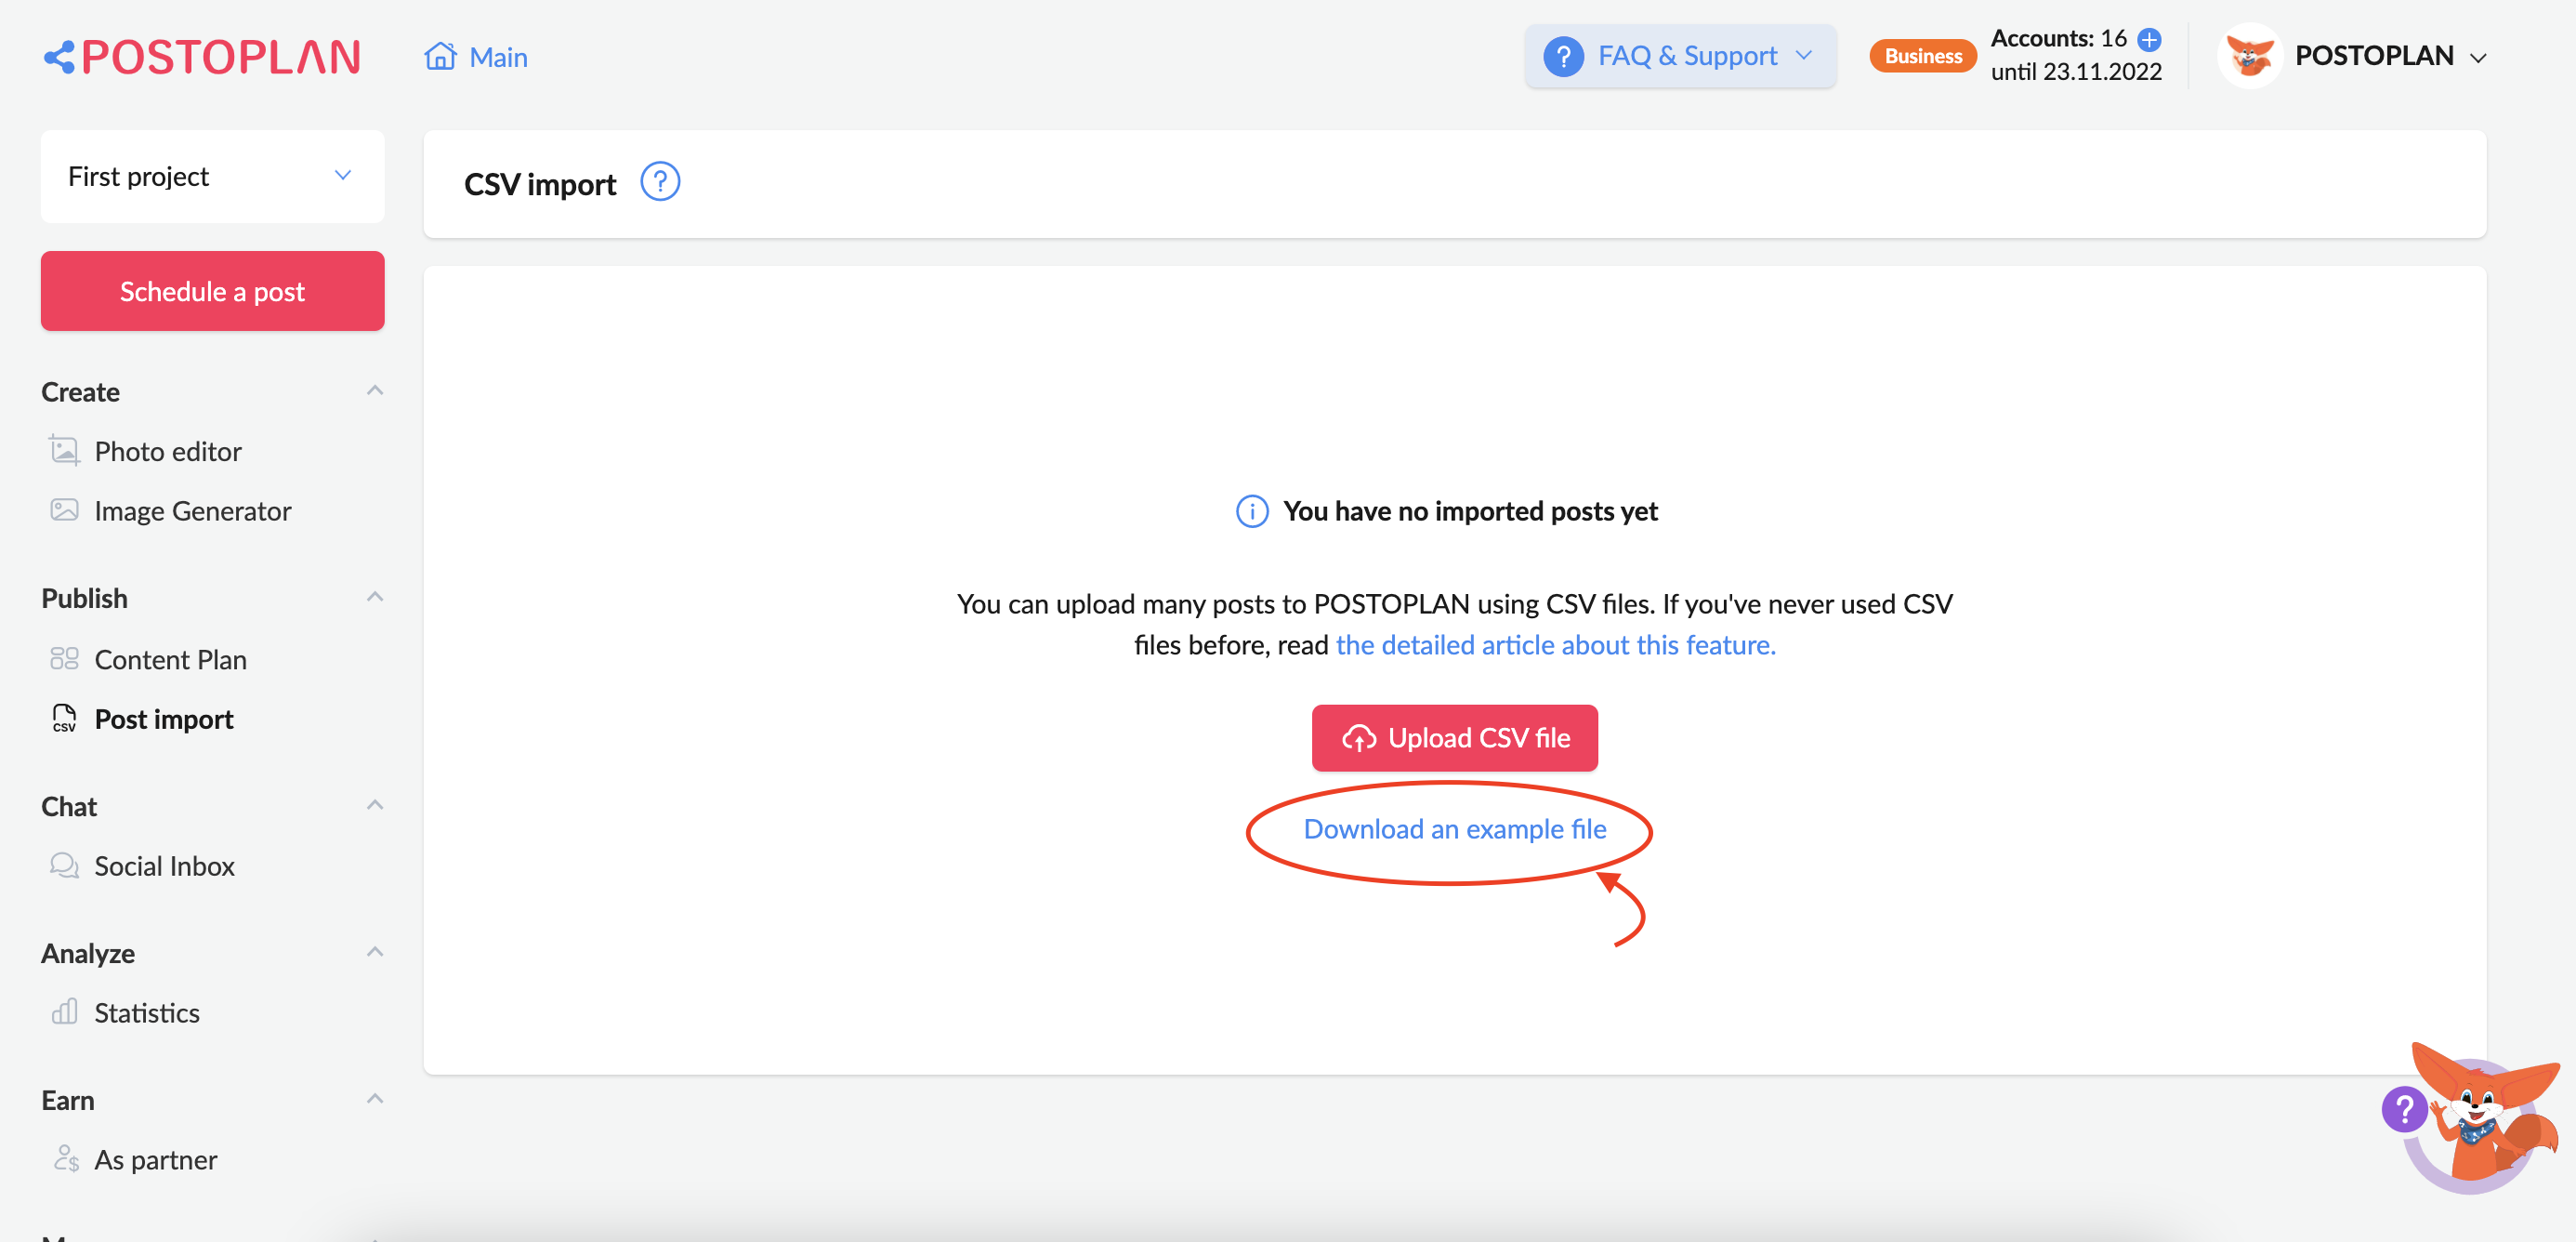
You can download a sample CSV file here:
Fill in the following fields:
Date and time (Date)
Enter the date and time in this column in the format:
mm/dd/yyyy hh:mm
mm/dd/yyyyy
dd.mm.yyyyy hh:mm
dd.mm.yyyy
Today – current day
Note: if you do not choose a specific time for publishing, then the default time is 00:00 or 12:00 AM.
You must follow the date and time format carefully to make it successful.
Message
This column allows you to add text to your publications. If you want to attach a link to your post, please insert it here as well.
Media URLs:
If you want to attach a video or picture from a public source to your publication, you need to specify the URL of the link to the necessary media file in this column. The links should be “direct” and end in .jpg, .png , .MP4 (please note, POSTOPLAN publishes only MP4 videos).
For example:
https://www.learningcontainer.com/wp-content/uploads/2020/05/sample-mp4-file.mp4
https://cdn.pixabay.com/photo/2018/04/06/00/25/nature-3294681_960_720.jpg
Finally, your CSV file should look like this:

Note. You can schedule up to 100 posts for your social networks in one CSV file. If you need to schedule more than 100 posts, please split your CSV into multiple files.
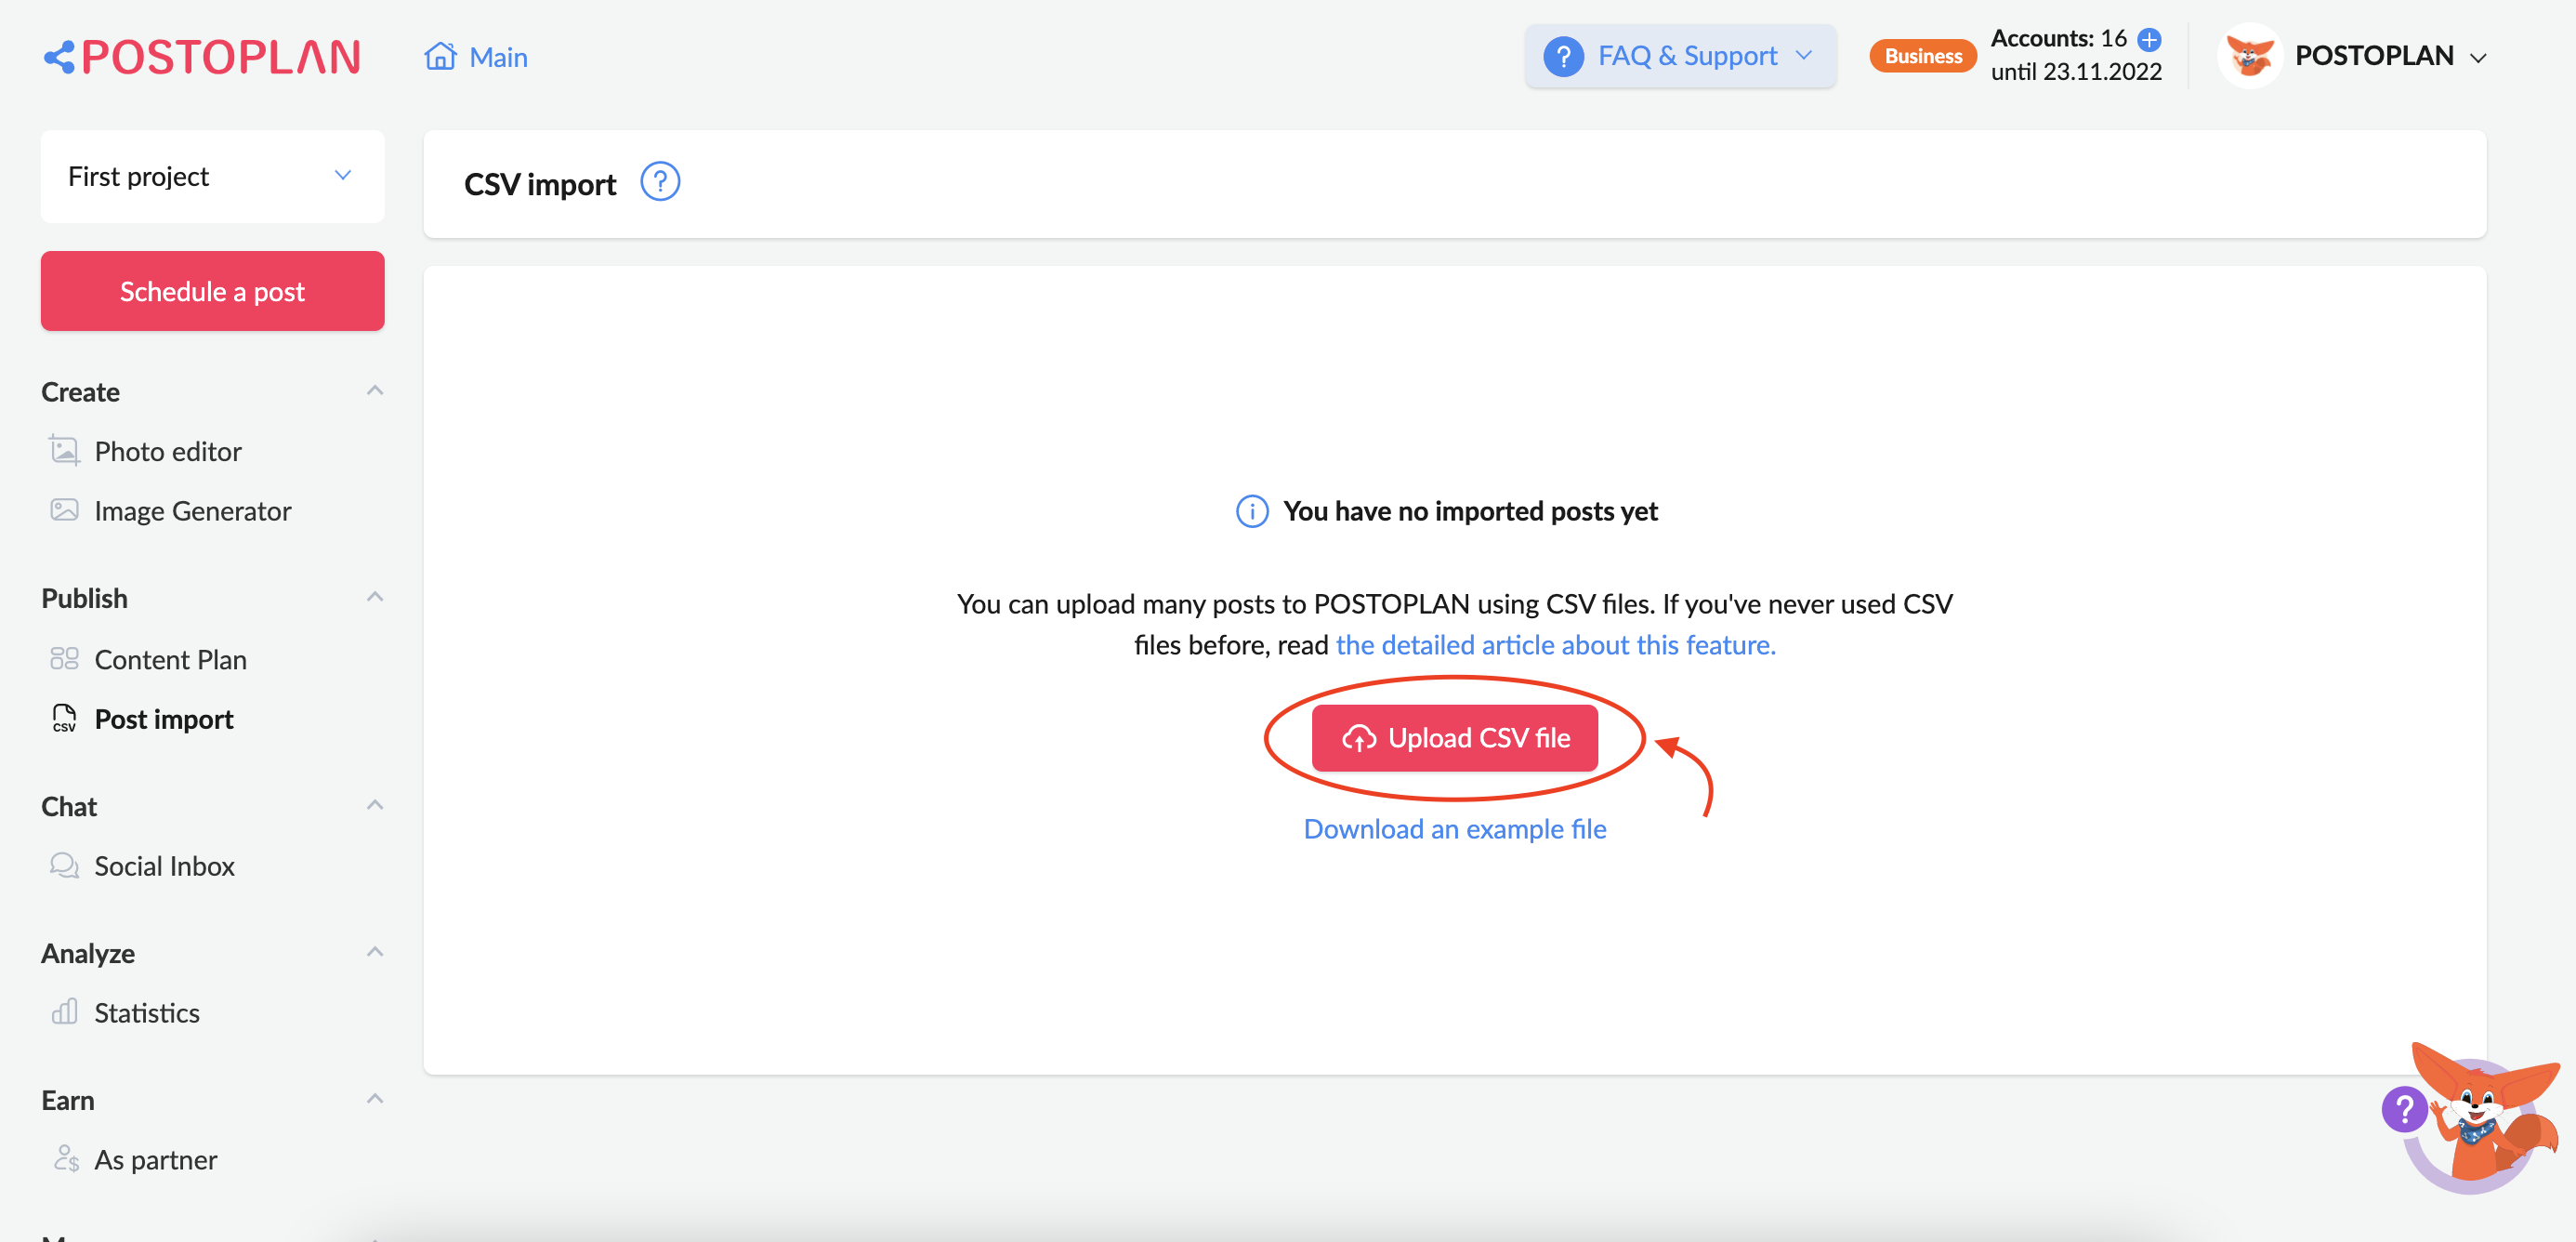
You can upload a CSV file by clicking the button:
STEP 2: Choosing accounts
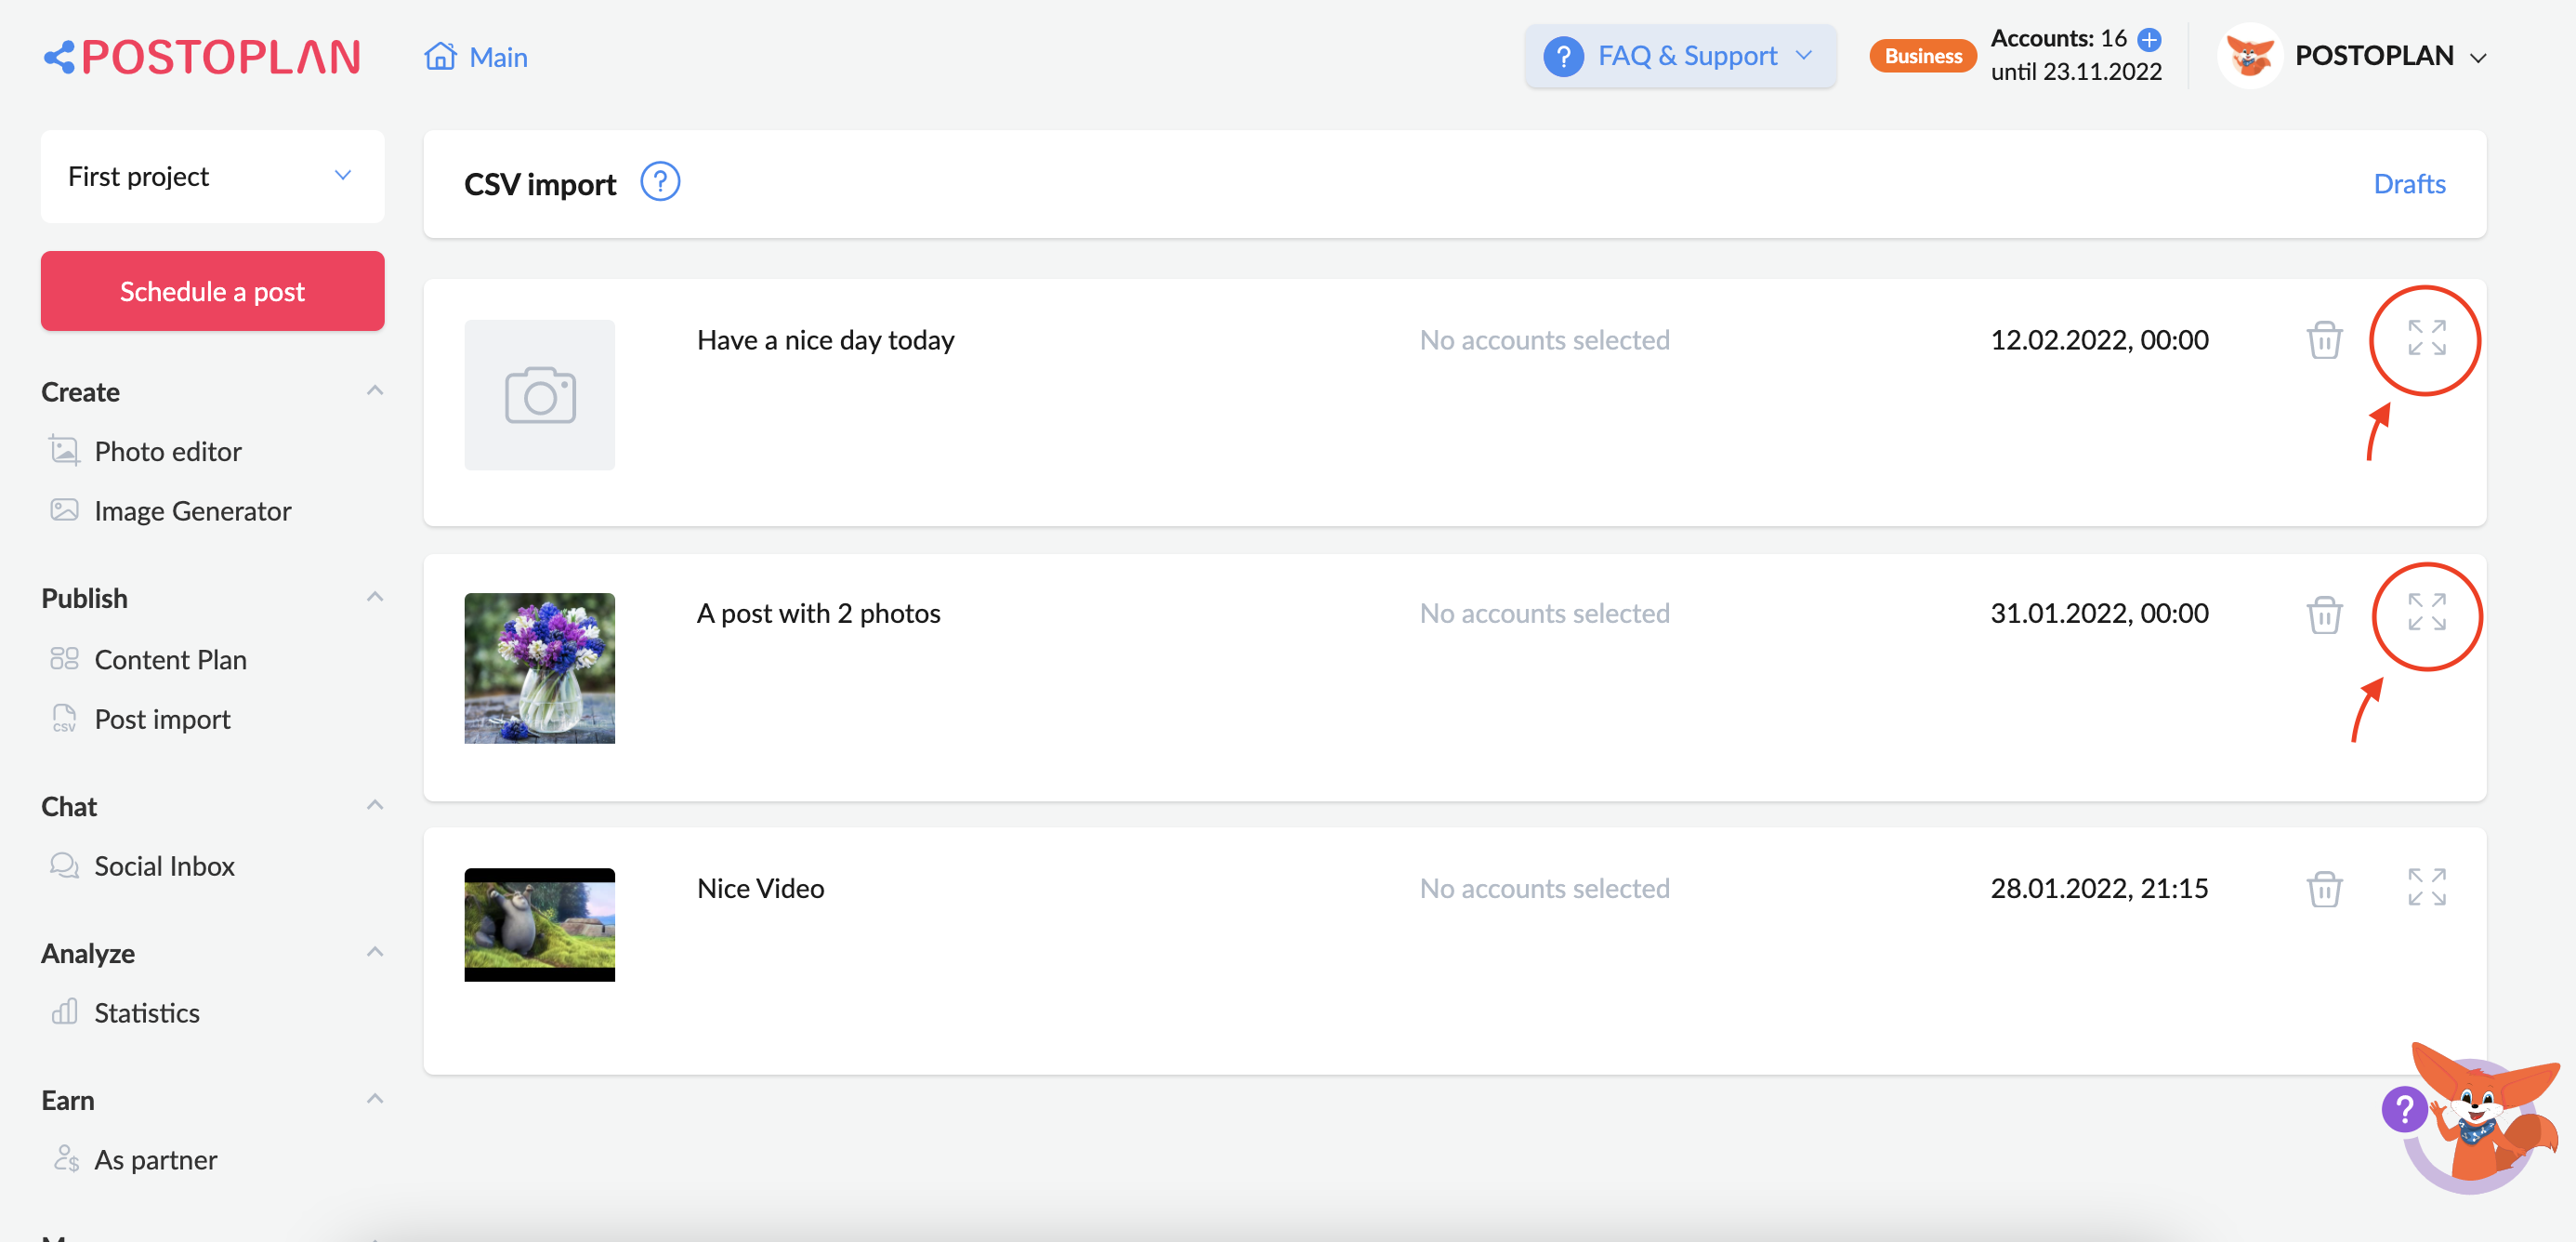
After a successful file upload you will be directed to a preview area of the uploaded posts. You can edit and select accounts for publication by clicking on the “Expand post to edit” icon:
 Your post will appear in the editor where you can change the text, add any link or image, change the time and date, select accounts for publishing, add hashtags, emoji, set up recursive posting, etc.
STEP 3: Completing the publication.
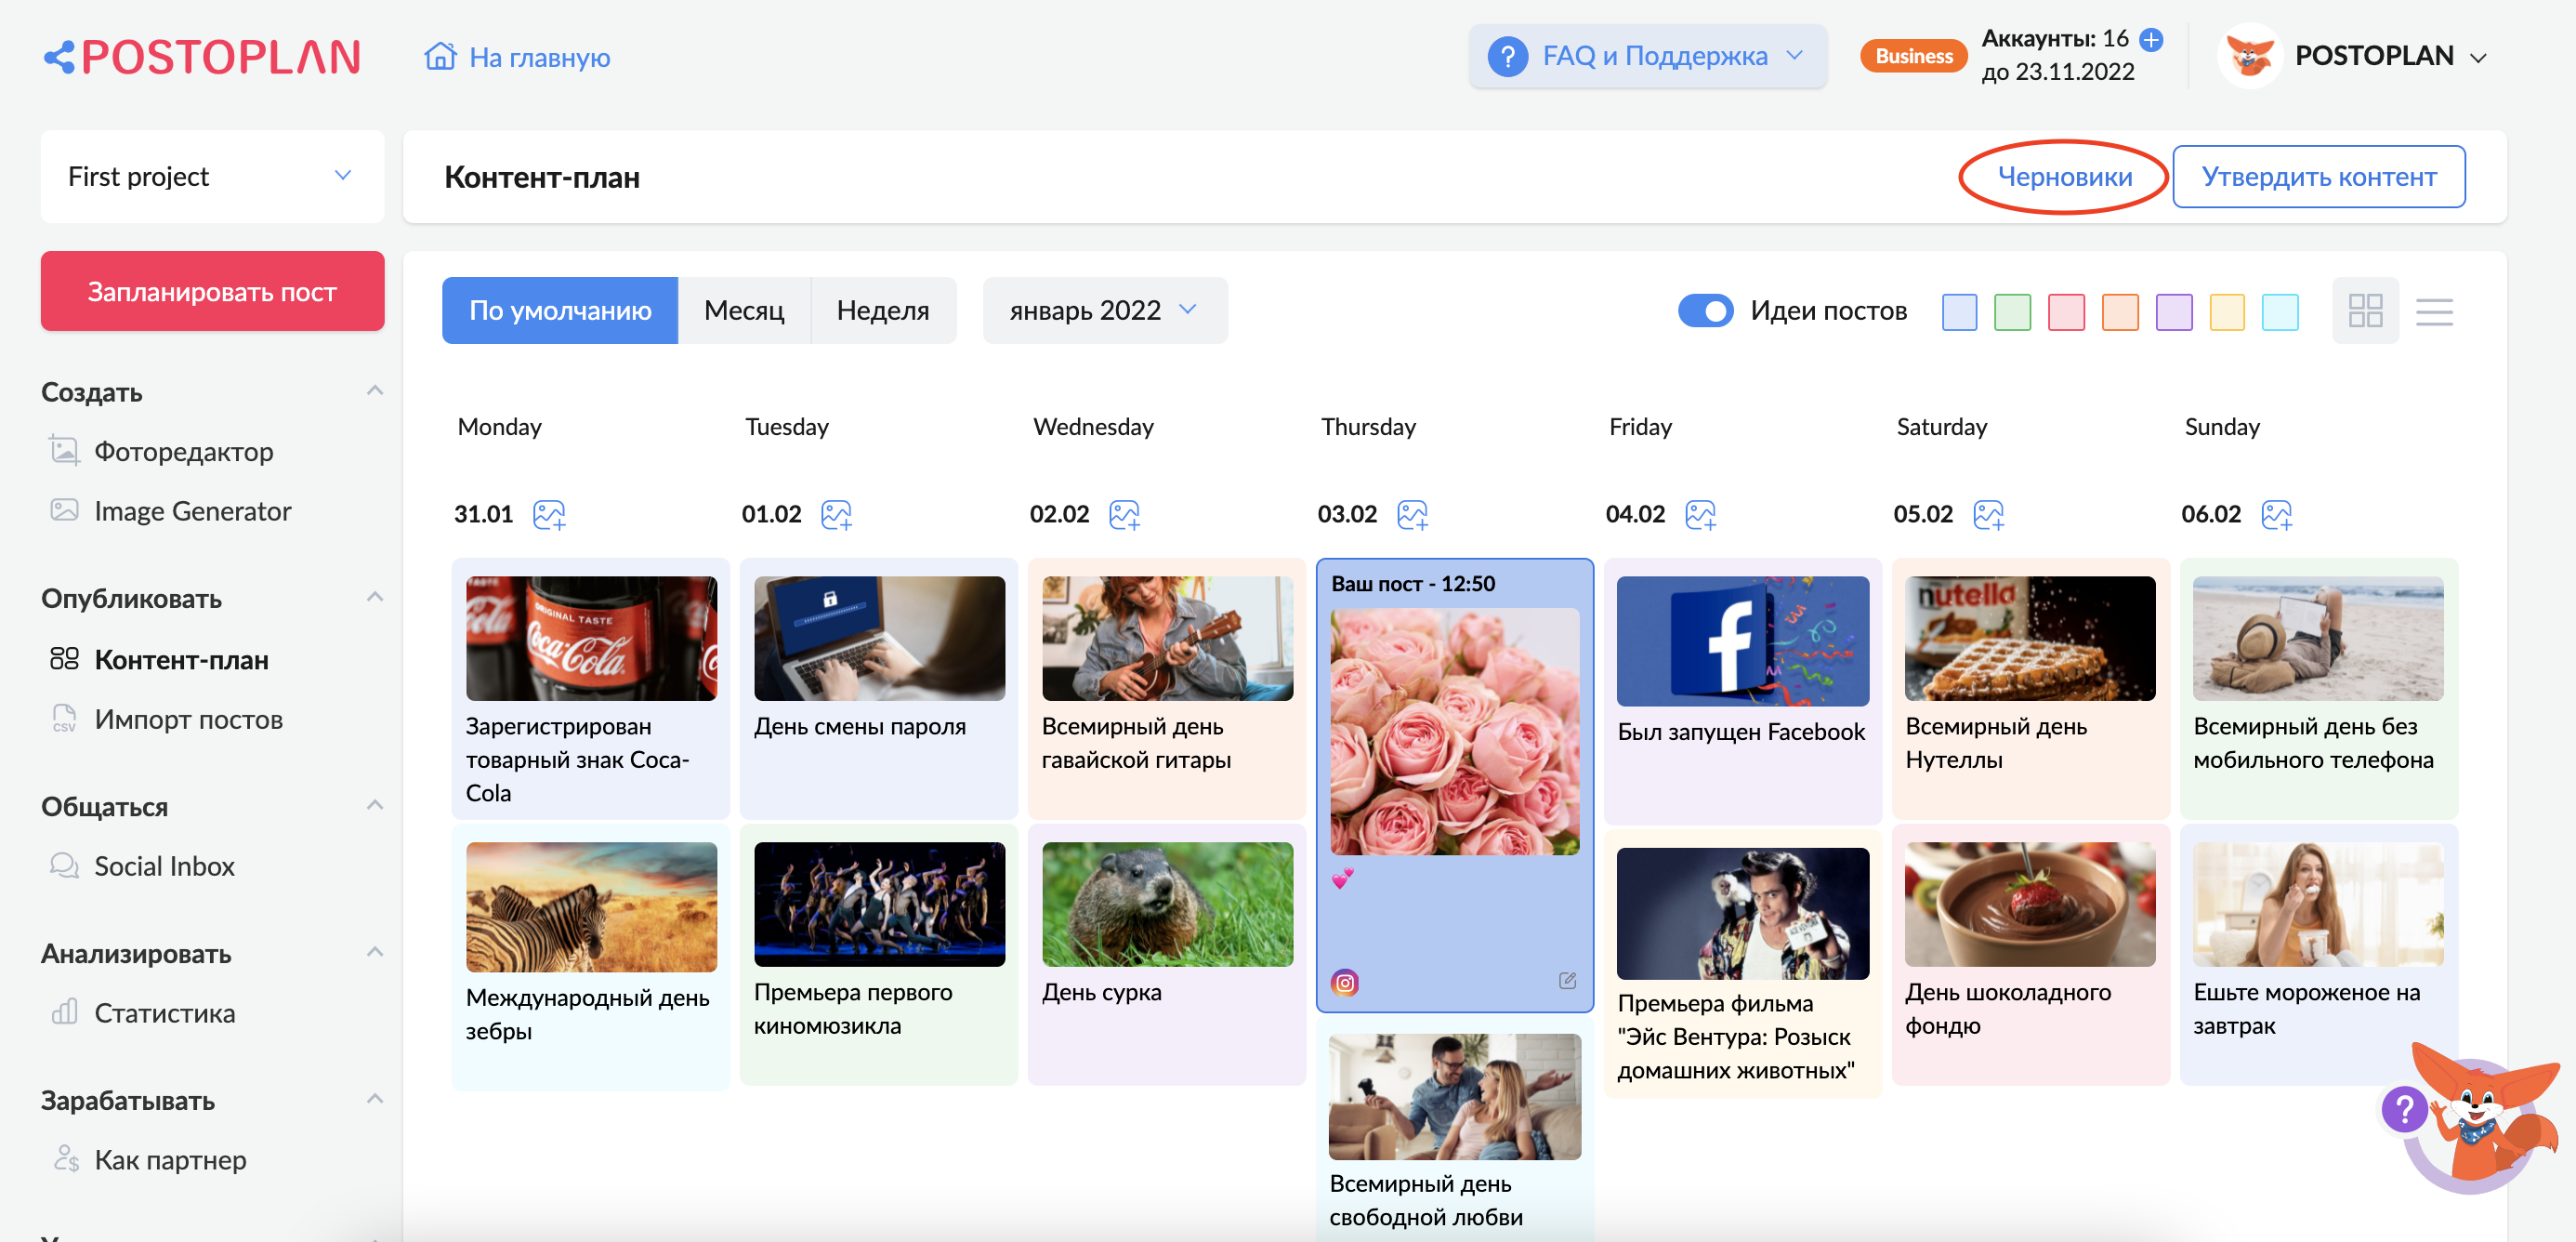
After you click on “Schedule,” your post will move to the Content Plan section:
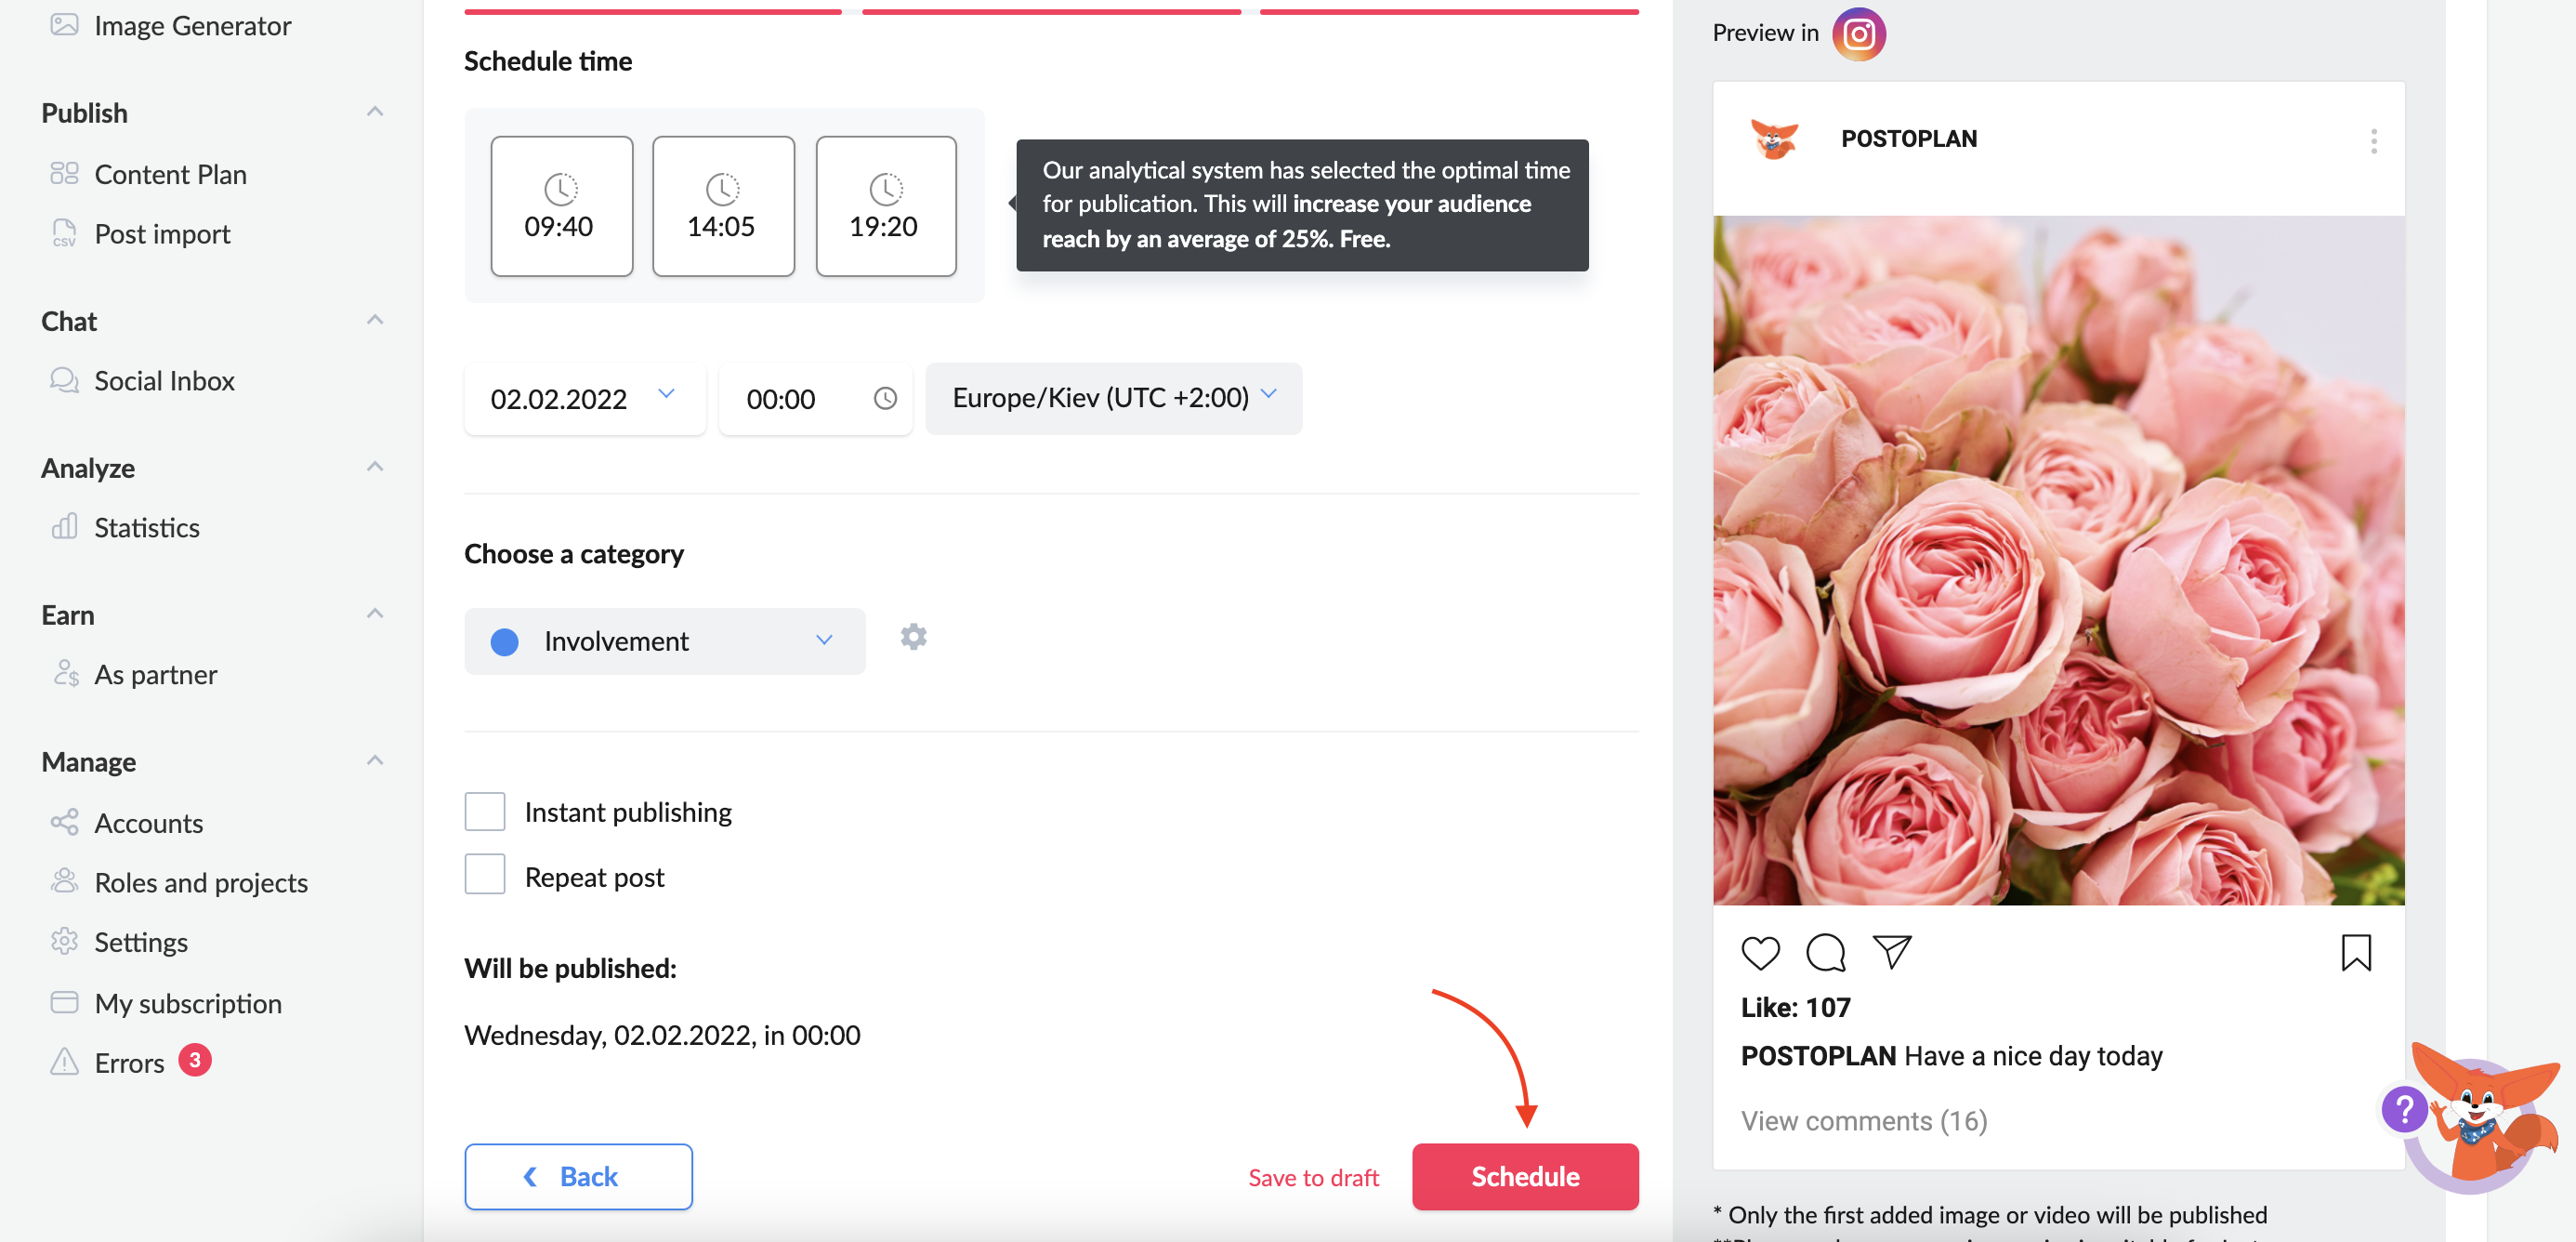
You can also save it as a draft. Click the “Save to Draft” button at the very bottom of the “Schedule a Post” page to do so:

You can find posts you want to edit later in the “Drafts” tab:
Problem Solving: special character error
If you experience a problem with special characters or UTF-8 in your CSV file, first convert the file at the following website: https://www.convertcsv.com/csv-viewer-editor.htm
Change “Default” encoding to “ISO-8859-1 (Latin No. 1)” and re-load the CSV file.


